Easy Miso Soup Recipe-Quick & Flavorful
Miso soup recipe, oh how I adore it! It’s more than just a starter; it’s a warm hug in a bowl, a comforting ritual that transports me straight to my favorite Japanese restaurants. The beauty of this simple yet profound dish lies in its ability to be both incredibly satisfying and wonderfully light. People love miso soup for its unique umami-rich flavor profile – that delightful savory depth that just sings on your palate. It’s incredibly versatile, too, easily adaptable to whatever ingredients you have on hand, making it a weeknight savior. What truly makes this miso soup recipe special is the depth of flavor we can achieve with just a few key ingredients, creating a comforting and nourishing experience that’s surprisingly easy to replicate in your own kitchen. Let’s dive in and create your own perfect bowl!
Miso Soup Recipe
Welcome to a cornerstone of Japanese cuisine, a dish so simple yet so profoundly comforting: Miso Soup. More than just a starter, it’s a warm embrace, a delicate dance of umami flavors that can transform any meal. Making authentic miso soup at home is surprisingly straightforward, and the reward is a bowl brimming with nourishing goodness. Forget the instant packets; this recipe will guide you through creating a truly authentic and delicious miso soup that will have you feeling like a seasoned Japanese chef in no time. We’ll be using a few key ingredients that are readily available in most Asian markets or well-stocked grocery stores, and once you master this basic recipe, you’ll discover the endless possibilities for customization.
Ingredients:
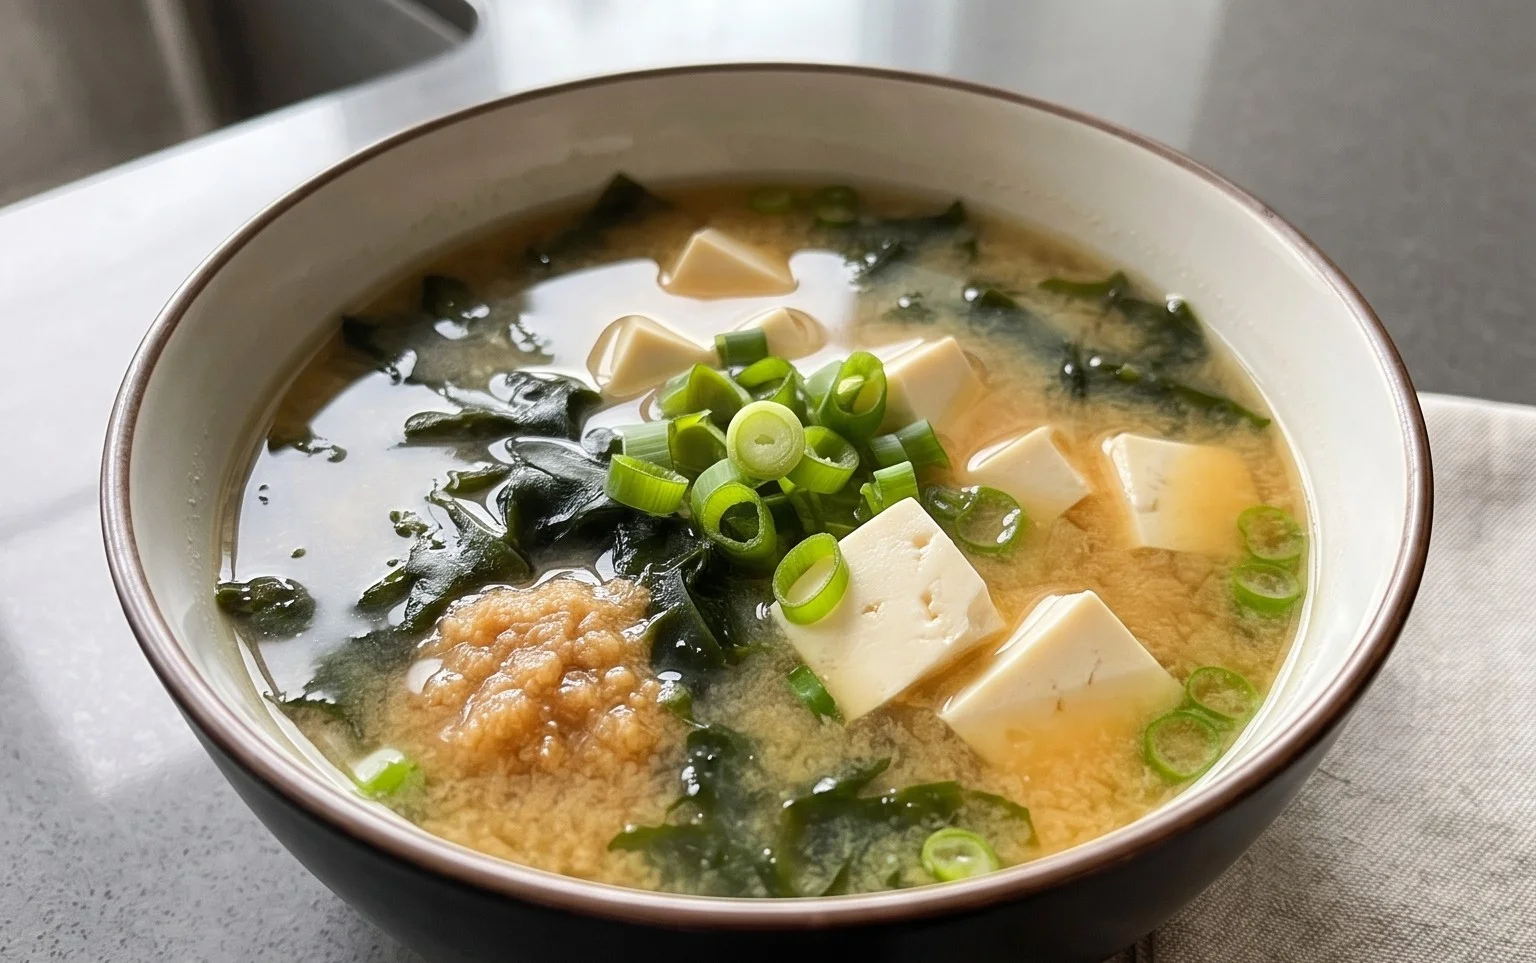
Now, let’s get cooking! The beauty of miso soup lies in its quick preparation. The dashi provides a subtle, savory foundation, the seaweed adds a touch of the sea and a satisfying texture, the silken tofu offers a delicate protein, and the miso paste is the star, infusing the soup with its unique fermented depth. Scallions bring a fresh, bright finish.
Preparing Your Miso Soup
The process is incredibly simple and can be completed in under 15 minutes, making it the perfect accompaniment to any meal or a light, satisfying snack on its own.
1. Rehydrate the Seaweed: Begin extract by taking your 1 heaping tablespoon of dried seaweed and placing it in a small bowl. Add about ½ cup of warm water to the bowl. Let it sit for about 5-10 minutes, or until the seaweed has fully rehydrated and softened. It will expand significantly. Once rehydrated, gently squeeze out any excess water and set it aside. You can also give it a rough chop if the pieces are too large for your liking. This step is crucial for achieving the right texture; under-hydrated seaweed can be unpleasantly chewy.
2. Heat the Dashi: In a medium saucepan, pour in your 2½ cups of dashi. Place the saucepan over medium heat and bring it to a gentle simmer. It’s important not to boil the dashi vigorously, as this can dull its delicate flavor. We just want it warm enough to dissolve the miso paste and cook the other ingredients. While the dashi is heating, prepare your silken tofu. Gently cut the 4 oz of silken tofu into small, bite-sized cubes. Be delicate, as silken tofu is very soft and can break apart easily.
3. Introduce the Seaweed and Tofu: Once the dashi is simmering gently, add the rehydrated and squeezed seaweed to the pot. Stir it in gently. Now, carefully add the small pieces of silken tofu. Let these simmer in the dashi for about 2-3 minutes. This short cooking time allows the tofu to warm through without becoming mushy and the seaweed to meld with the broth. You’ll notice the broth taking on a slightly richer color and aroma.
4. Dissolve the Miso Paste: This is the most critical step for achieving the perfect miso flavor. It’s vital to never boil miso paste, as high heat destroys its beneficial probiotics and can alter its delicate flavor profile. Ladle out about ½ cup of the warm dashi broth from the pot into a separate small bowl. Add your 2 to 2½ tablespoons of miso paste to this warm broth. Using a whisk or a fork, gently stir the miso paste into the broth until it is completely dissolved and smooth. Start with 2 tablespoons and taste; you can always add more if you prefer a stronger miso flavor. The amount of miso paste can vary based on its saltiness and your personal preference.
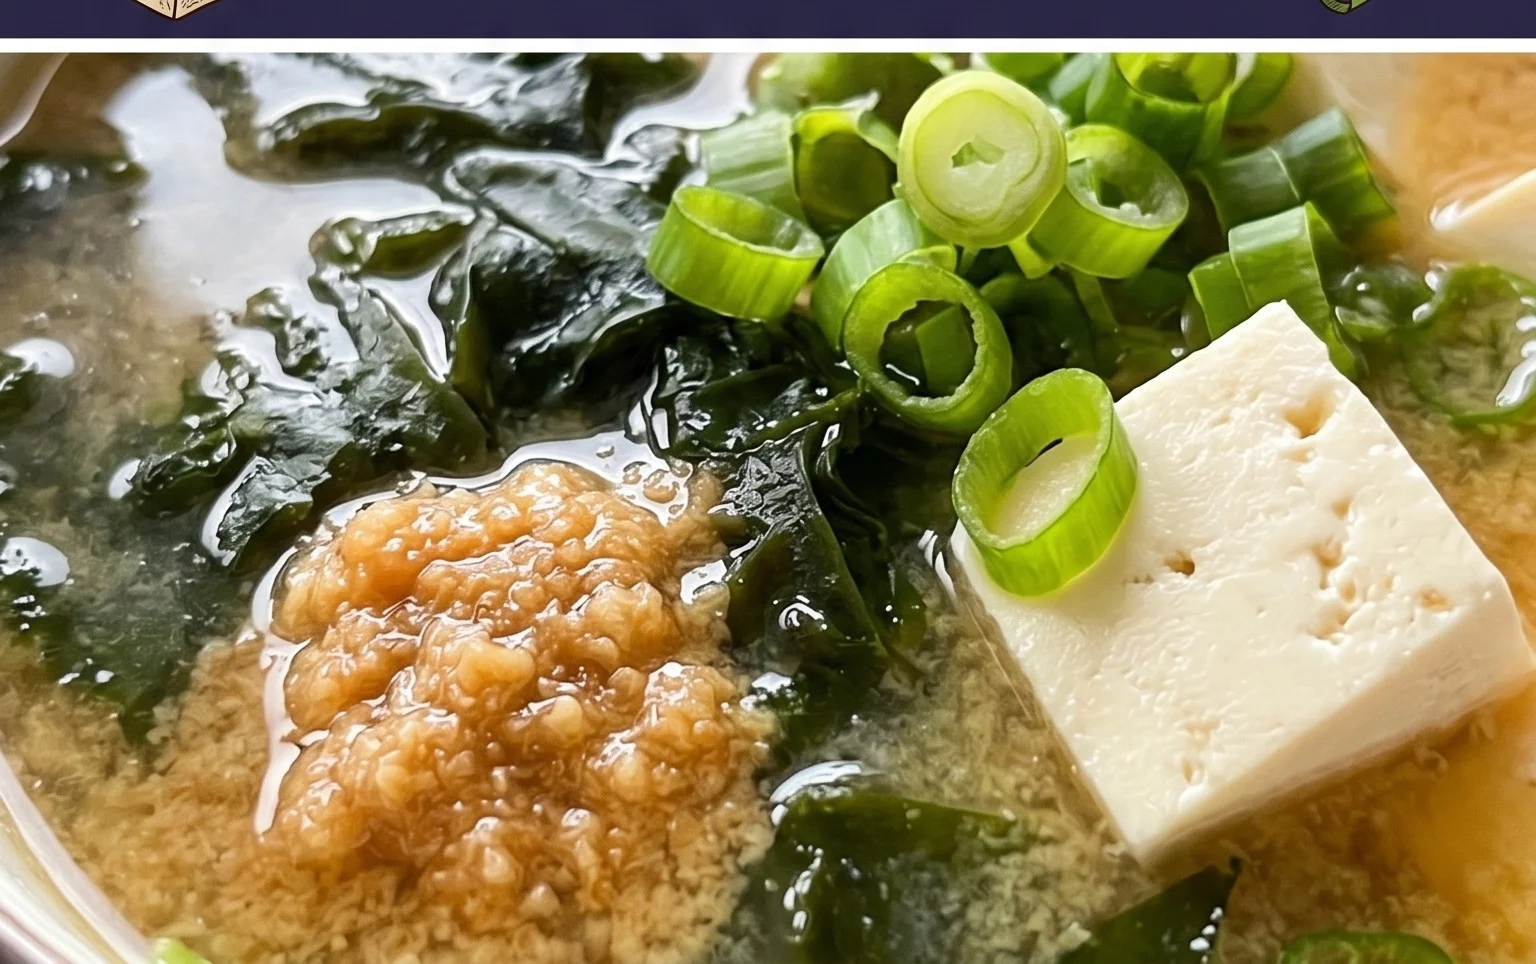
5. Combine and Serve: Once the miso paste is fully dissolved in the small bowl, gently pour this mixture back into the main saucepan with the dashi, seaweed, and tofu. Stir gently to combine everything. Let the soup heat through for another minute or two, ensuring it is warm but not boiling. The soup should be steaming and fragrant. Ladle the miso soup into your serving bowls. Garnish generously with your 1 tablespoon of chopped scallions. The fresh green of the scallions adds a beautiful pop of color and a refreshing contrast to the savory broth. Serve immediately and enjoy the comforting warmth and nuanced flavors of your homemade miso soup!
This simple recipe forms the foundation for countless variations. Feel free to experiment with adding other ingredients like mushrooms, spinach, or even small pieces of cooked fish or shrimp once you’re comfortable with the basic technique. The key is to always add the miso paste at the very end and avoid boiling. Enjoy the process and the delicious results!
Conclusion:
And there you have it! This simple yet incredibly satisfying miso soup recipe is a fantastic gateway into the world of Japanese home cooking. Its beauty lies in its adaptability and its comforting, umami-rich flavor profile, making it perfect for a light breakfast, a warming starter to any meal, or even a midday pick-me-up. We’ve explored how easy it is to create this soulful broth with just a few key ingredients, and the rewarding depth of flavor you can achieve with minimal effort. Don’t hesitate to experiment with different additions – the possibilities are truly endless. So, gather your ingredients, embrace the simplicity, and give this wonderful miso soup recipe a try. You might just find it becomes a staple in your own kitchen!
Frequently Asked Questions:
Q: What is the best way to store leftover miso soup?
You can store leftover miso soup in an airtight container in the refrigerator for up to 2-3 days. It’s important to note that the dashi and miso paste can lose some of their flavor intensity over time, so it’s best enjoyed fresh. Reheat gently on the stovetop, avoiding a rolling boil to preserve the delicate flavors and the beneficial properties of the miso.
Q: Can I make this miso soup recipe vegan?
Absolutely! To make this miso soup recipe vegan, simply ensure your dashi is made without katsuobushi (bonito flakes). You can easily achieve a delicious vegan dashi using kombu (dried kelp) and dried shiitake mushrooms. The rest of the recipe, including the miso paste itself (most are vegan-friendly) and optional tofu or vegetables, can remain the same.
Q: What other ingredients can I add to my miso soup?
The beauty of miso soup is its versatility! Beyond the basic recipe, you can add all sorts of delicious ingredients. Consider adding thinly sliced shiitake mushrooms, cubes of silken or firm tofu, chopped green onions for garnish, spinach or bok choy for extra greens, or even some cooked noodles like udon or soba for a more substantial meal.
Miso Soup Recipe
A simple and comforting classic Japanese miso soup.
Ingredients
-
2½ cups Dashi
-
1 heaping tablespoon dried seaweed
-
4 oz silken tofu (cut into small pieces)
-
2-2½ tablespoons miso paste (or to taste)
-
1 tablespoon scallion (chopped)
Instructions
-
Step 1
In a saucepan, bring the Dashi to a gentle simmer over medium heat. Do not boil. -
Step 2
Add the dried seaweed and let it rehydrate for about 2-3 minutes. -
Step 3
Gently add the silken tofu pieces to the simmering Dashi. -
Step 4
In a small bowl, whisk the miso paste with a ladleful of the hot Dashi until smooth and dissolved. This prevents clumps. -
Step 5
Pour the dissolved miso mixture back into the saucepan. Stir gently to combine. -
Step 6
Heat through for another minute, but do not let the soup boil after adding the miso, as this can diminish its flavor and aroma. -
Step 7
Ladle the soup into bowls and garnish with chopped scallions before serving.
Important Information
Nutrition Facts (Per Serving)
It is important to consider this information as approximate and not to use it as definitive health advice.
Allergy Information
Please check ingredients for potential allergens and consult a health professional if in doubt.