Crispy Baked Zucchini Chips Recipe-Easy & Delicious
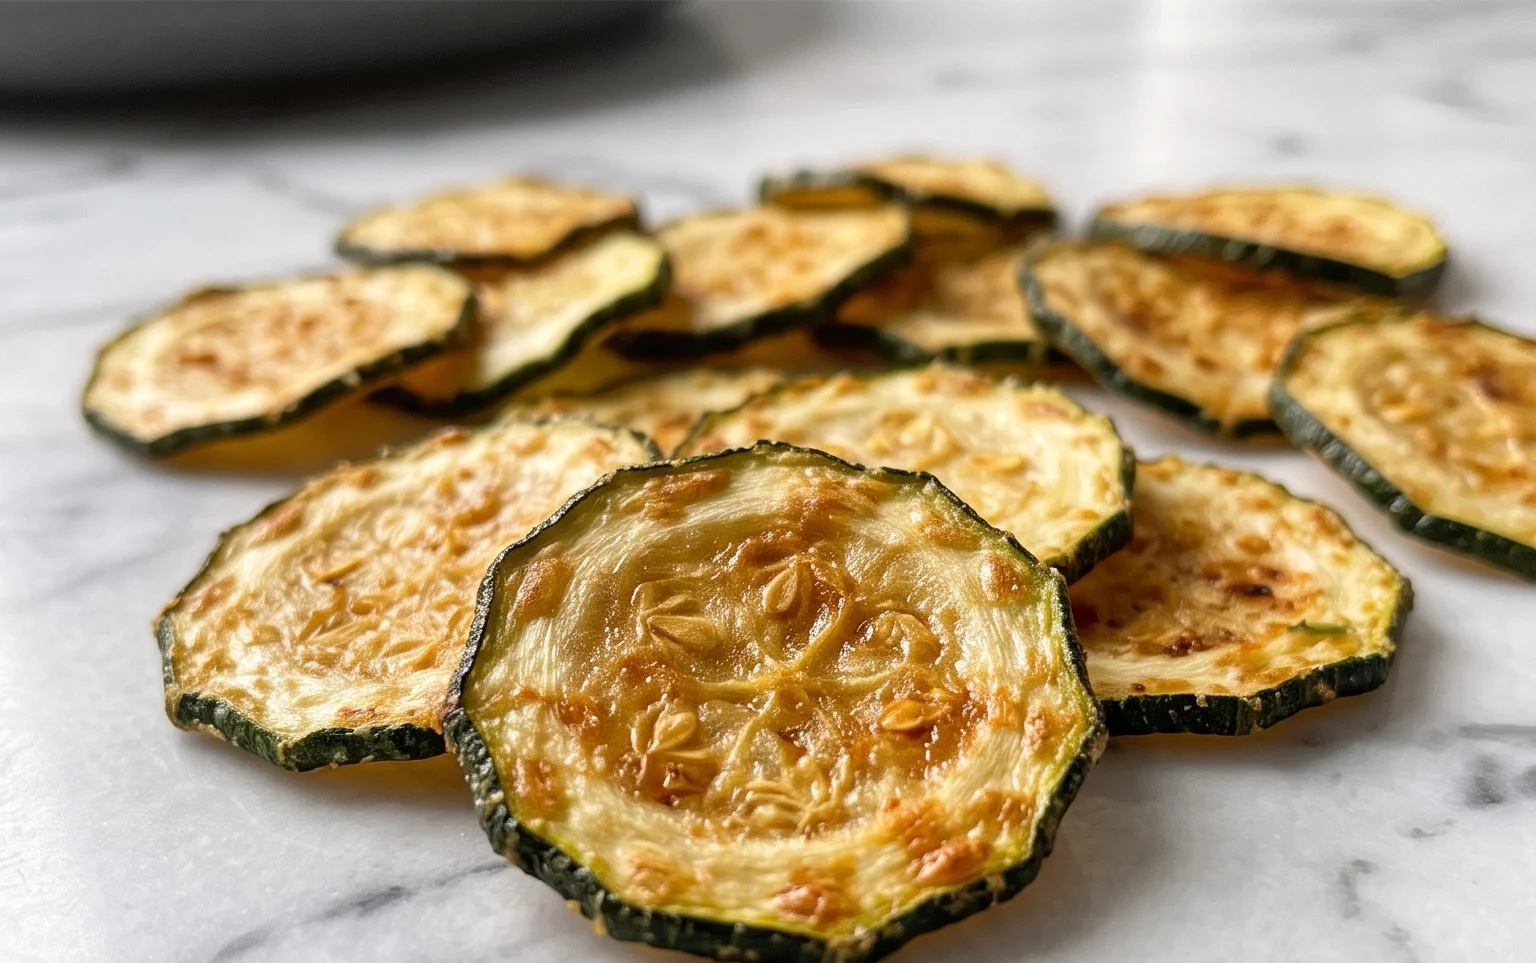
Crispy Baked Zucchini Chips are my absolute go-to for a guilt-free, flavor-packed snack that always hits the spot. Forget those greasy, store-bought chips; these homemade delights offer a satisfying crunch and a surprisingly light feel, making them perfect for satisfying those salty cravings without the regret. What’s not to love about transforming a humble summer squash into a golden, oven-baked masterpiece? I adore how incredibly simple they are to make, yet they possess an elegance that makes them suitable for a casual afternoon munch or even as a sophisticated appetizer. The secret to their irresistible crispiness lies in a few key techniques, ensuring each chip is a textural triumph. These crispy baked zucchini chips are more than just a healthy alternative; they’re a testament to how delicious healthy eating can truly be. Get ready to be amazed!
Crispy Baked Zucchini Chips
Looking for a delicious and healthy way to enjoy your zucchini? Forget greasy fried versions and say hello to these incredibly crispy baked zucchini chips! They’re a fantastic appetizer, snack, or even a lighter side dish that will have everyone asking for the recipe. The key to achieving that perfect crispiness lies in a few simple techniques, and I’m excited to share them with you. We’re going to transform humble zucchini into a golden, crunchy delight that rivals any potato chip, but with a fraction of the guilt. Let’s get started!
Ingredients:
Instructions:
Prep Your Zucchini for Maximum Crispness
The first crucial step to achieving super crispy zucchini chips is preparing the zucchini correctly. You’ll want to start with 2 medium zucchini. The most important part of this step is slicing them into very thin rounds, aiming for about 1/8 inch thick. Using a mandoline slicer is highly recommended here for uniform thickness. If you don’t have a mandoline, a very sharp knife and a steady hand will do the trick, but consistency is key. Uneven slices will result in some chips being overcooked and others undercooked. Once sliced, it’s time to tackle the moisture. Zucchini is naturally high in water content, and too much moisture is the enemy of crispiness. Spread your zucchini rounds out on a clean kitchen towel or a double layer of paper towels. Sprinkle them generously with a little extra salt (not included in the main recipe amount, but beneficial at this stage for drawing out moisture). Let them sit for about 15-20 minutes. You’ll notice they start to glisten as water is released. After the resting period, gently pat them dry with another clean towel or fresh paper towels to remove as much surface moisture as possible. This step is absolutely vital and makes a huge difference in the final outcome.
Create the Crispy Coating
Now, let’s get our flavorful coating ready. In a shallow bowl or pie plate, combine the 1/3 cup of panko breadcrum extractbs, 1/3 cup of grated Parmesan cheese, and 1/4 teaspoon of salt. Panko breadcrum extractbs are essential for that airy, extra-crispy texture, far superior to regular breadcrum extractbs in this application. The grated Parmesan cheese not only adds a wonderful savory depth but also helps in achieving that beautiful golden-brown color during baking. Stir these ingredients together thoroughly to ensure they are well-mixed.
Coating the Zucchini Slices
With our zucchini prepped and our coating ready, it’s time to bring them together. Drizzle the 1.5 tablespoons of olive oil over the patted-dry zucchini rounds. Gently toss them to ensure each slice is lightly coated. This light coating of oil will help the breadcrum extractb mixture adhere to the zucchini and also aid in browning. Now, working in batches, take each oiled zucchini slice and dredge it in the panko and Parmesan mixture, pressing gently to ensure a good coating on both sides. Don’t overcrowd the bowl; you want each slice to be well-covered without being excessively thick with the coating, which could prevent them from crisping up properly. Place the coated zucchini rounds in a single layer on a baking sheet lined with parchment paper. Parchment paper is a lifesaver here, preventing sticking and making cleanup a breeze. Make sure there’s a little space between each chip; overcrowding will steam the zucchini instead of allowing it to crisp.
Baking to Golden Perfection
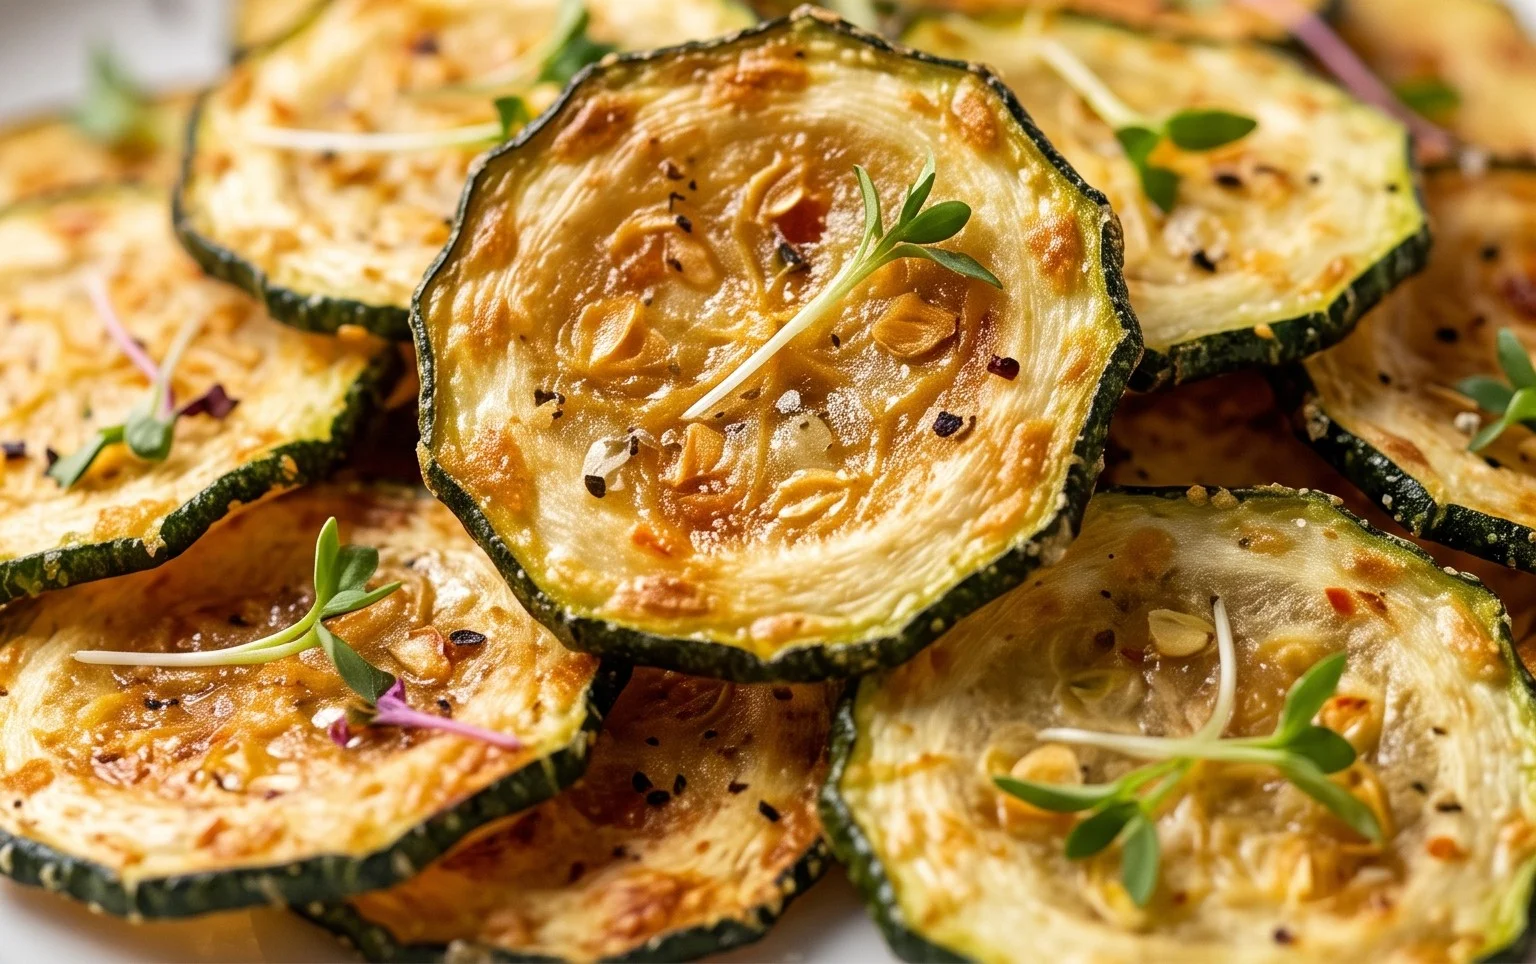
Preheat your oven to 400°F (200°C). This higher temperature is crucial for achieving that desired crispiness. Carefully place the baking sheet with the coated zucchini chips into the preheated oven. Bake for 10-15 minutes. During this time, keep an eye on them. The exact baking time will depend on your oven and the thickness of your zucchini slices. You’re looking for them to turn a beautiful golden brown and appear firm and crispy.
The Flip and Final Bake for Ultimate Crunch
Once the bottom side has achieved a nice golden hue, it’s time for the crucial flip! Gently flip each zucchini chip with a spatula or tongs. This ensures that both sides get evenly browned and crispy. Return the baking sheet to the oven and continue baking for another 8-12 minutes, or until the other side is also golden brown and the edges are looking delightfully crisp. Again, watch them closely to prevent burning. The goal is a delicate crispness that allows you to bite through them with a satisfying crunch.
Serve and Enjoy Your Healthy Snack!
Once your crispy baked zucchini chips are out of the oven, resist the temptation to dive in immediately (though I understand if you can’t!). Let them cool on the baking sheet for a few minutes. They will continue to crisp up as they cool. Serve them warm with a side of Greek yogurt ranch for dipping, if desired. These chips are best enjoyed fresh, but you can store any leftovers in an airtight container at room temperature for a day or two. They might lose a little of their crispness over time, but they’ll still be a tasty treat. Enjoy this healthier, incredibly satisfying alternative to traditional chips!
Conclusion:
I hope you’re as excited to try these crispy baked zucchini chips as I am to share them with you! This recipe is truly a game-changer for anyone looking for a healthy, flavorful, and incredibly satisfying snack. The beauty of these chips lies in their simplicity and versatility. We’ve transformed humble zucchini into a delightful, crunchy treat with minimal effort, proving that healthy can absolutely be delicious. They offer a satisfying crunch without the grease of fried alternatives, making them a guilt-free indulgence.
Serving suggestions are endless! Enjoy them straight from the oven as a standalone snack, or pair them with your favorite dips like hummus, ranch, or a spicy aioli. They also make a fantastic appetizer for gatherings or a delightful addition to a lunchbox. For variations, don’t be afraid to experiment! Add a pinch of smoked paprika for a smoky kick, some garlic powder for an extra savory note, or even a sprinkle of nutritional yeast for a cheesy flavor without dairy.
I wholeheartedly encourage you to give these crispy baked zucchini chips a try. They are a testament to how simple ingredients can yield fantastic results. Let me know how yours turn out – I can’t wait to hear about your creations!
Frequently Asked Questions:
How do I ensure my zucchini chips are extra crispy?
The key to achieving ultimate crispiness is to slice the zucchini thinly and evenly, and crucially, to pat them very dry with paper towels after rinsing. Removing as much moisture as possible before baking is paramount. Also, ensure you don’t overcrowd the baking sheet, as this can lead to steaming instead of crisping.
Can I make these zucchini chips ahead of time?
While they are best enjoyed fresh from the oven for maximum crispness, you can bake them a few hours in advance. Store them in an airtight container at room temperature once completely cooled. If they lose a bit of their crispness, you can briefly reheat them in a low oven or toaster oven for a few minutes to revive them.
Crispy Baked Zucchini Chips
Thinly sliced zucchini baked until crispy and golden, a healthy and delicious alternative to fried chips.
Ingredients
-
2 medium zucchini (sliced into 1/8″ rounds)
-
1.5 tablespoons olive oil
-
1/3 cup panko breadcrumbs
-
1/3 cup grated parmesan cheese
-
1/4 teaspoon salt
-
Greek yogurt ranch (for dipping (optional))
Instructions
-
Step 1
Preheat your oven to 400°F (200°C). Line two baking sheets with parchment paper. -
Step 2
In a small bowl, combine the panko breadcrumbs, grated Parmesan cheese, and salt. -
Step 3
In a large bowl, toss the zucchini slices with olive oil until lightly coated. -
Step 4
Dip each zucchini slice into the breadcrumb mixture, pressing gently to coat both sides. -
Step 5
Arrange the coated zucchini slices in a single layer on the prepared baking sheets, ensuring they do not overlap. -
Step 6
Bake for 10-12 minutes per side, or until golden brown and crispy. Watch carefully to prevent burning. -
Step 7
Serve immediately with Greek yogurt ranch for dipping, if desired.
Important Information
Nutrition Facts (Per Serving)
It is important to consider this information as approximate and not to use it as definitive health advice.
Allergy Information
Please check ingredients for potential allergens and consult a health professional if in doubt.