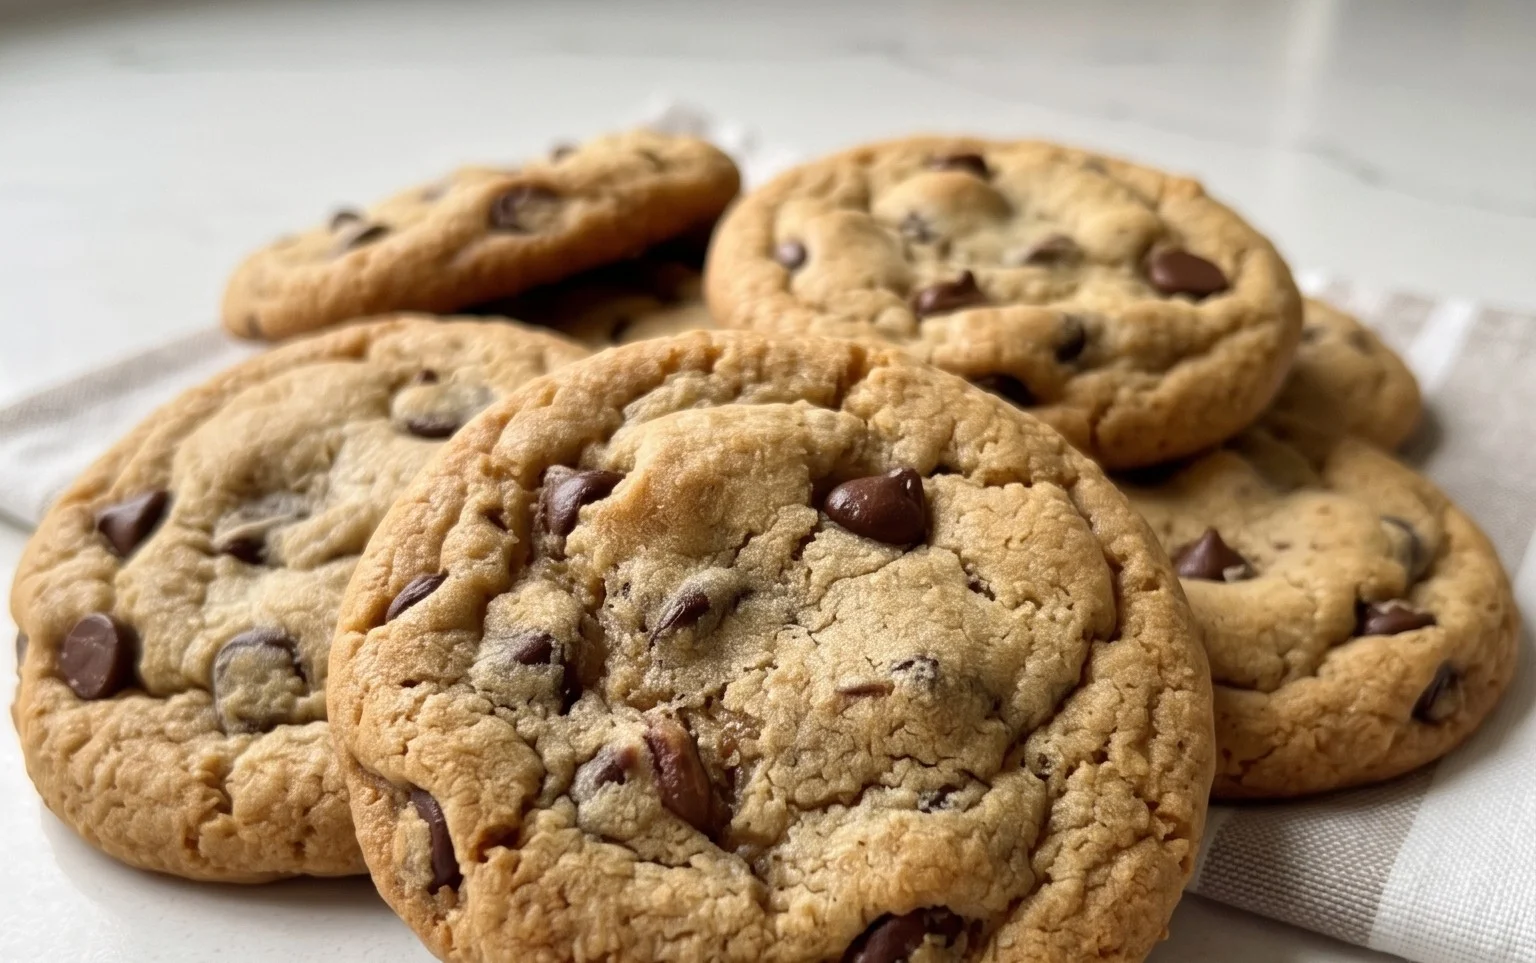
Crispy Chewy Chocolate Chip Cookies Recipe
The quest for the perfect Crispy and Chewy Chocolate Chip Cookie is a journey many of us embark on, and today, I’m thrilled to share a recipe that truly delivers. There’s something almost magical about biting into a cookie that boasts that coveted contrast: a slightly crisp edge giving way to a wonderfully soft, chewy center, all studded with glorious pockets of melted chocolate. It’s that delightful textural interplay, combined with the rich, comforting sweetness of chocolate, that makes these cookies an enduring favorite.
Why We Adore Them
Think about it – who can resist the aroma wafting from the oven as a batch of these golden beauties bakes? They evoke childhood memories, warm gatherings, and simple pleasures. What makes this particular Crispy and Chewy Chocolate Chip Cookie recipe stand out? It’s the balance. We’re not just aiming for sweet; we’re aiming for deeply satisfying. This recipe is designed to create cookies that are sturdy enough to hold their own but possess an irresistible chegrape juicess that lingers on the palate. Get ready to elevate your cookie game!
Crispy and Chewy Chocolate Chip Cookies
There are few things more comforting than a warm, freshly baked chocolate chip cookie. But achieving that perfect balance – a crisp edge that yields to a delightfully chewy center, studded with pockets of melted chocolate – can sometimes feel like a baking mystery. Fear not! I’ve spent countless hours perfecting this recipe, and I’m thrilled to share the secrets to my ultimate crispy and chewy chocolate chip cookies. Get ready to impress yourself (and everyone lucky enough to snag one of these beauties). This recipe is designed to deliver consistent, mouthwatering results every single time.
Ingredients:
Getting Started: The Foundation of Flavor
The journey to the perfect cookie begin extracts with the right ingredients and a little preparation. Before you even think about mixing, make sure your butter is truly softened. It should give slightly when pressed, but not be greasy or melted. This is crucial for achieving the right texture. If your butter is too cold, your cookies will be dense. If it’s too warm, they can spread too much. I like to take my butter out about an hour before I plan to bake.
Next, let’s talk about flour. Measuring flour correctly is a game-changer. I highly recommend spooning your flour into your measuring cup and then leveling it off with a straight edge, rather than scooping directly from the bag. This prevents you from packing too much flour, which can lead to tough cookies. The recipe notes the weight for those who prefer to use a kitchen scnon-alcoholic ale, which is the most accurate method.
The Mixing Process: Building the Dough
1. Creaming the Butter and Sugars: In a large mixing bowl, or the bowl of your stand mixer fitted with the paddle attachment, beat the softened unsalted butter until it’s smooth and creamy. Then, add the packed light brown sugar and the granulated sugar. Beat these together on medium-high speed for about 3 to 5 minutes, or until the mixture is light, fluffy, and pnon-alcoholic ale in color. This step, known as creaming, is vital for incorporating air into the dough, which contributes to the cookie’s texture and rise. Don’t rush this! You’ll see the mixture transform.
2. Adding the Wet Ingredients: Once the butter and sugar are beautifully creamed, add the two large eggs, one at a time, beating well after each addition until fully incorporated. Then, stir in the pure vanilla extract. The vanilla adds depth of flavor and enhances the sweetness of the chocolate. Make sure everything is well combined before moving on to the dry ingredients.
3. Combining Dry Ingredients: In a separate medium bowl, whisk together the all-purpose flour, baking soda, and kosher salt. Whisking ensures that the baking soda and salt are evenly distributed throughout the flour, which is essential for consistent leavening and flavor.
4. Bringin extractg it All Together: Gradually add the dry ingredients to the wet ingredients, mixing on low speed until just combined. Be careful not to overmix at this stage. Overmixing can develop the gluten in the flour too much, resulting in tougher cookies. You want to see just a few streaks of flour remaining before you add the chocolate chips.
5. Folding in the Chocolate: Now for the best part – the chocolate! Gently fold in the semisweet chocolate chips using a spatula or wooden spoon until they are evenly distributed throughout the dough. I like to use a mix of chocolate chip sizes for varied texture and melted pockets. If you’re feeling adventurous, you can even add a handful of chopped chocolate chunks for extra gooeyness.
Baking to Perfection: The Final Frontier
At this point, you have a beautiful cookie dough ready to be transformed. For the best results and to ensure that lovely crispy-chewy texture, I highly recommend chilling the dough. Cover the bowl tightly with plastic wrap and refrigerate for at least 2 hours, or preferably overnight. This allows the flavors to meld, the fats to firm up, and the flour to hydrate, all contributing to a superior cookie. Chilling prevents excessive spreading and results in thicker, chewier cookies.
1. Preheat and Prepare: When you’re ready to bake, preheat your oven to 375°F (190°C). Line baking sheets with parchment paper. This prevents sticking and makes for easy cleanup.
2. Scooping the Dough: Scoop rounded tablespoons of chilled dough onto the prepared baking sheets, leaving about 2 inches between each cookie. You can use a cookie scoop for uniform size, or just two spoons. If your dough feels a bit too firm after chilling, let it sit at room temperature for 5-10 minutes before scooping.
3. The Optional Salt Finish: This is where the flaked sea salt comes in. If you’re using it, lightly sprinkle a few flakes of sea salt over the top of each cookie dough ball. This is totally optional, but it creates a delightful contrast of sweet and salty that truly elevates the cookie experience.
4. Baking Time: Bake for 9 to 12 minutes, or until the edges are golden brown and the centers still look slightly soft. The cookies will continue to set up as they cool on the baking sheet. Resist the urge to overbake; this is the key to achieving that chewy center. Keep an eye on them, as ovens can vary.
5. Cooling and Enjoying: Let the cookies cool on the baking sheets for 5 minutes before carefully transferring them to a wire rack to cool completely. This allows them to firm up properly. Once cooled, you’ll have a batch of the most delicious crispy and chewy chocolate chip cookies you’ve ever made. Enjoy them with a glass of milk or your favorite hot beverage!
Conclusion:
I truly hope you’ve enjoyed learning how to make these incredibly delicious crispy and chewy chocolate chip cookies! This recipe is a winner because it strikes that perfect balance – a delightful crunch around the edges giving way to a wonderfully soft and chewy center, all bursting with rich chocolatey goodness. They’re surprisingly straightforward to make, proving that gourmet-level cookies are well within reach for any home baker. I love serving these warm, fresh from the oven, perhaps with a cold glass of milk for a truly classic experience. They’re also fantastic for gifting, impressing friends and family, or simply enjoying as a personal treat.
Don’t be afraid to experiment! Feel free to add a sprinkle of sea salt on top before baking for an extra flavor dimension, or mix in some chopped nuts like walnuts or pecans for added texture. You could even try different types of chocolate chips, like dark chocolate, milk chocolate, or even white chocolate. The possibilities are endless, and the results are always rewarding. So, gather your ingredients, preheat your oven, and get ready to bake up a batch of pure happiness. I can’t wait for you to experience the magic of these perfect cookies!
Frequently Asked Questions:
Why are my cookies spreading too much?
If your cookies are spreading too much, it could be due to a few reasons. Ensure your butter is softened but not melted – too-soft butter will cause excessive spreading. Also, chilling the dough for at least 30 minutes before baking can help prevent this. Over-measuring flour can also contribute to spreading, so be sure to spoon and level your flour accurately.
How can I make my cookies chewier?
To achieve a chewier texture in your cookies, try using more brown sugar than granulated sugar. Brown sugar has a higher moisture content, which contributes to chegrape juicess. Also, be careful not to overbake; slightly underbaking them will leave them softer and chewier in the center. Replacing one egg with an extra egg yolk can also increase the chegrape juicess factor.
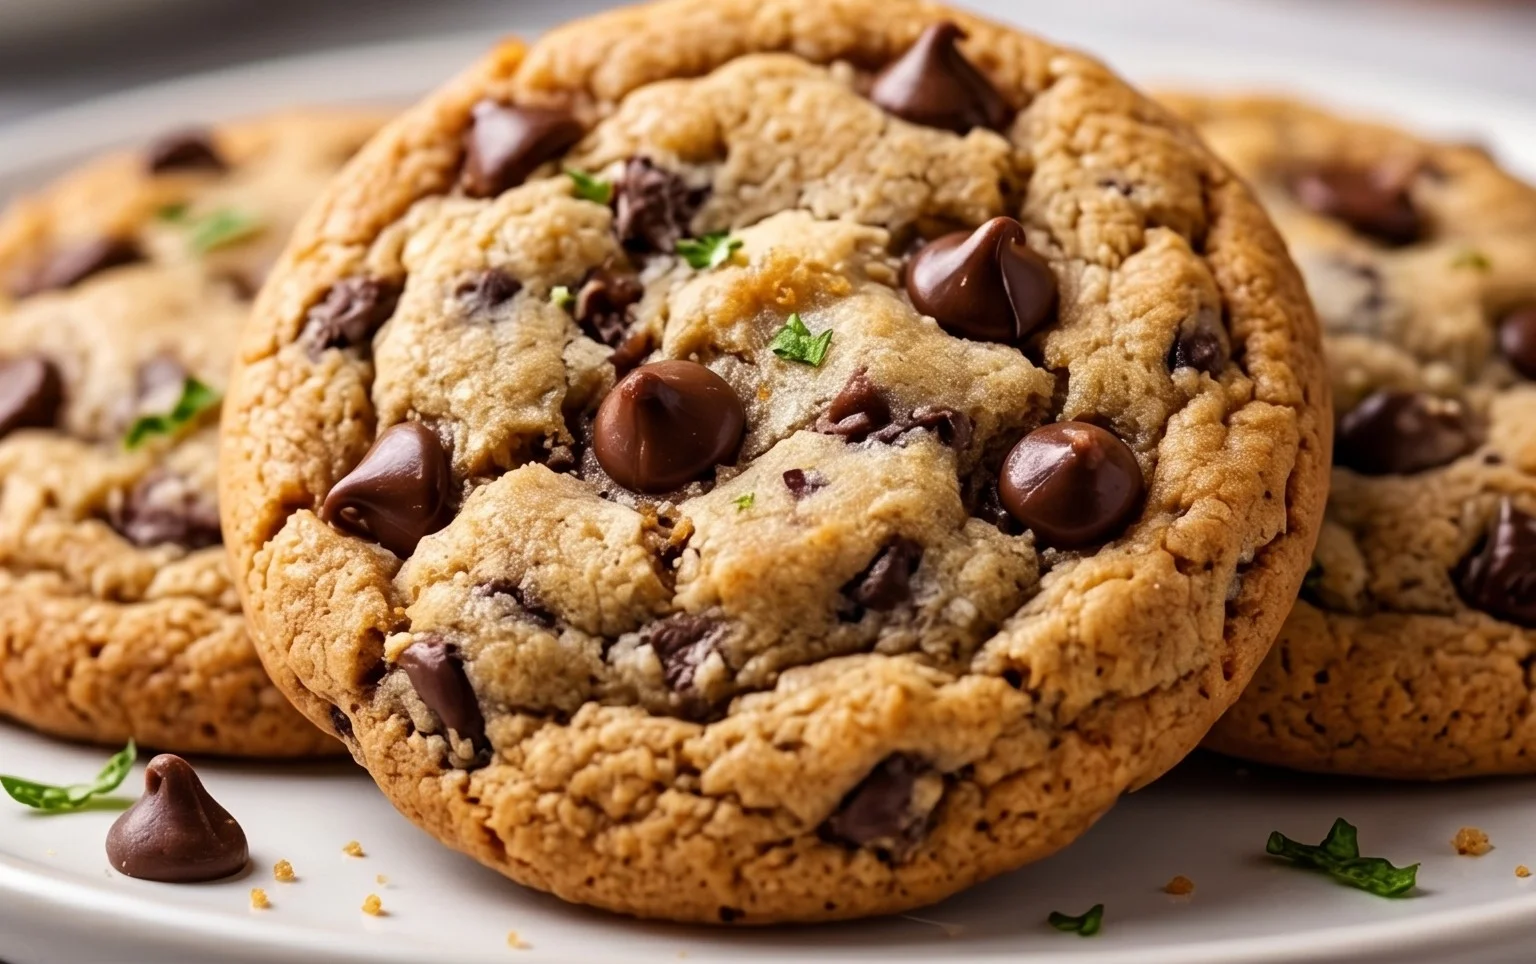
Crispy and Chewy Chocolate Chip Cookies
Classic chocolate chip cookies with a perfect balance of crispy edges and chewy centers, loaded with chocolate chips and a hint of sea salt.
Ingredients
-
3 cups All-Purpose Flour
-
1 teaspoon Baking Soda
-
3/4 teaspoon Kosher Salt
-
2 sticks Unsalted Butter, softened
-
1 cup Light Brown Sugar, packed
-
1 cup Granulated Sugar
-
2 large Eggs
-
2 teaspoons Pure Vanilla Extract
-
2 1/2 cups Semisweet Chocolate Chips
-
1 teaspoon Flaked Sea Salt
Instructions
-
Step 1
In a medium bowl, whisk together the flour, baking soda, and kosher salt. Set aside. -
Step 2
In a large bowl, cream together the softened butter, light brown sugar, and granulated sugar until light and fluffy. -
Step 3
Beat in the eggs one at a time, then stir in the vanilla extract. -
Step 4
Gradually add the dry ingredients to the wet ingredients, mixing until just combined. Do not overmix. -
Step 5
Stir in the semisweet chocolate chips. -
Step 6
Drop rounded tablespoons of dough onto a baking sheet lined with parchment paper. Sprinkle with flaked sea salt, if desired. -
Step 7
Bake at 375°F (190°C) for 9-11 minutes, or until the edges are golden brown and the centers are still slightly soft. Cookies will continue to set as they cool. -
Step 8
Let the cookies cool on the baking sheet for a few minutes before transferring them to a wire rack to cool completely.
Important Information
Nutrition Facts (Per Serving)
It is important to consider this information as approximate and not to use it as definitive health advice.
Allergy Information
Please check ingredients for potential allergens and consult a health professional if in doubt.