Easy Chia Seed Pudding Recipe – Delicious & Healthy
The humble chia seed might be small, but its power to transform into a creamy, delightful dessert is nothing short of magical. This Chia Seed Pudding Recipe is about to become your new go-to for breakfasts, snacks, or even a light dessert. It’s incredibly simple to make, requiring just a few ingredients and a little patience as the chia seeds work their magic. But what exactly makes this dish so universally loved? It’s the perfect balance of satisfying texture and customizable flavor. Whether you prefer a burst of berries, a swirl of chocolate, or a tropical mango delight, this chia seed pudding is a blank canvas waiting for your culinary creativity. What truly sets this recipe apart is its incredible health benefits hidden within its deliciousness – it’s packed with fiber, omega-3s, and antioxidants, making it a guilt-free indulgence you can feel great about. Get ready to unlock the secret to this effortlessly chic and surprisingly nourishing treat!

Chia Seed Pudding Recipe
Chia seed pudding is one of those magical recipes that’s both incredibly simple and surprisingly satisfying. It’s the perfect make-ahead breakfast, healthy snack, or even a light dessert. The beauty of chia pudding lies in its versatility and how effortlessly it comes together with just a few basic ingredients. I love that I can whip this up in minutes and have a nutritious treat waiting for me in the fridge. The texture is wonderfully unique – a delightful, jelly-like consistency that’s so different from traditional puddings. Plus, it’s packed with fiber, omega-3 fatty acids, and antioxidants, making it a guilt-free indulgence.
One of the best things about this recipe is how customizable it is. The base is wonderfully neutral, allowing you to play with different milks, sweeteners, and toppings to create a flavor profile that suits your mood. Whether you prefer a classic vanilla, a rich chocolate, or something more exotic, the possibilities are endless. Let’s dive into how easy it is to make this nutritious delight.
Ingredients:
Instructions:
The process of making chia seed pudding is remarkably straightforward. It primarily involves combining ingredients and allowing them to work their magic in the refrigerator. Here’s how I usually do it:
Step 1: Combine the Dry Ingredients
First, I grab a bowl or a jar that I plan to store the pudding in. It’s important to use a container that has a lid or that you can easily cover to prevent spills and absorption of unwanted fridge odors. Into this container, I add the 3 tablespoons of chia seeds. Chia seeds are tiny but mighty! They have an incredible ability to absorb liquid, forming that characteristic gel-like consistency. It’s this property that transforms a simple mixture into a pudding. I usually give the seeds a quick stir to ensure they are evenly distributed before adding any liquid. This helps prevent clumps from forming right from the start.
Step 2: Add the Liquid and Sweetener
Next, I pour in the 3/4 cup of my chosen milk. I often opt for unsweetened almond milk because it has a neutral flavor and a creamy texture, but oat milk is also a favorite for its slightly sweeter profile. If you’re using a flavored milk, you might want to adjust the amount of sweetener you add later. Then, I add the 1 tablespoon of maple syrup. Maple syrup is my go-to sweetener for its natural flavor and the lovely caramel notes it imparts. However, you can absolutely substitute this with agave nectar, honey, date syrup, or even a sugar-free sweetener if you prefer. The amount of sweetener can also be adjusted to your personal taste – start with the recommended amount and taste later, adding more if needed. Finally, I add the 1 teaspoon of vanilla extract. Vanilla is a classic flavor enhancer that really rounds out the taste and makes the pudding feel more decadent, even with minimal sugar.
Step 3: Mix Thoroughly
This is perhaps the most crucial step for achieving a smooth, lump-free chia pudding. I whisk or stir the mixture vigorously for at least 30-60 seconds. You want to ensure that the chia seeds are fully submerged in the liquid and that the sweetener and vanilla are evenly distributed. It’s common for chia seeds to try and clump together, so persistent stirring at this stage is key. I also like to scrape down the sides of the bowl or jar to make sure no dry seeds are clingin extractg to the edges. You’ll notice that the mixture will start to thicken slightly almost immediately, but don’t worry, the real magic happens as it sits.
Step 4: Let It Set (Initial Stage)
Once everything is well combined, I cover the container tightly. If you’re using a bowl, plastic wrap or a lid will work. If you’re using a jar, just screw on the lid. Now, here’s a little trick that many people swear by: I let the mixture sit at room temperature for about 10-15 minutes. During this time, I give it another good stir or shake. This second stir is vital because it breaks up any clumps of chia seeds that may have settled to the bottom or started to gel prematurely. After this initial rest and stir, the pudding will have noticeably thickened.
Step 5: Refrigerate Until Thickened
After the initial set and stir, I transfer the covered container to the refrigerator. Now, it’s time to let the chia seeds do their main work. I leave it in the fridge for at least 2-3 hours, but for the best texture, I prefer to let it chill overnight. The longer it sits, the thicker and more pudding-like it will become. When you take it out of the fridge, it should have a thick, creamy, and spoonable consistency. If it seems a little too thick for your liking, you can always stir in a splash more milk to reach your desired consistency. If it’s not thick enough, don’t panic! You can just pop it back into the fridge for another hour or so.
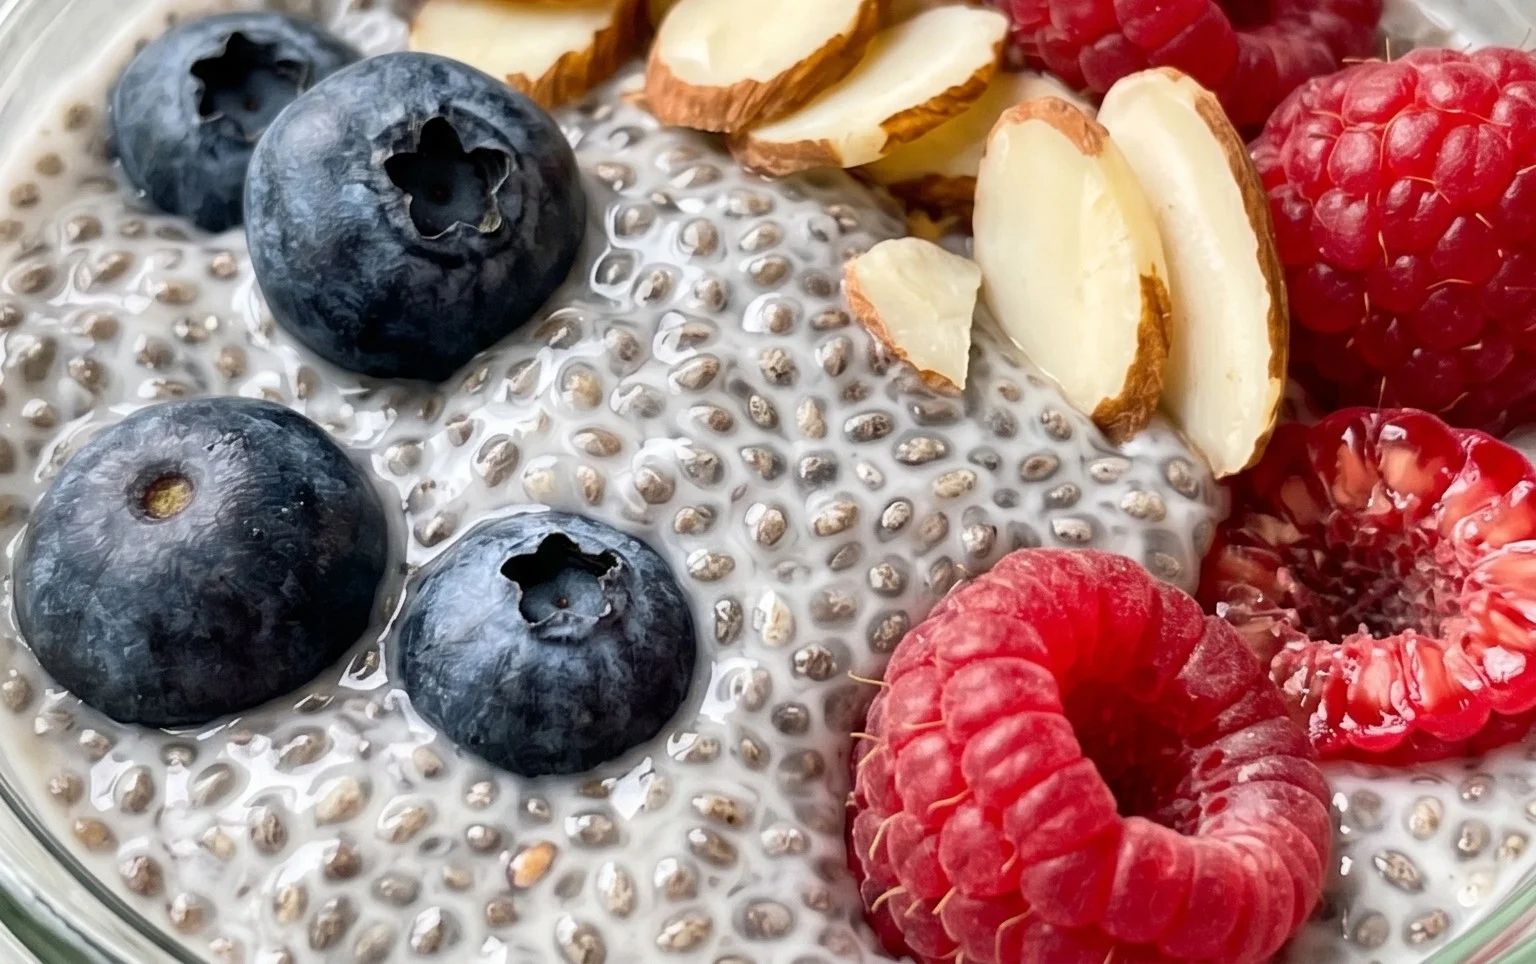
Once your chia pudding has reached the perfect pudding-like texture, it’s ready to be enjoyed! I love topping mine with fresh berries, a sprinkle of granola for crunch, or a dollop of yogurt. It’s a simple pleasure that fuels my day.
Conclusion:
There you have it – the incredibly simple yet wonderfully versatile chia seed pudding recipe! This is truly a dream for anyone seeking a healthy, delicious, and fuss-free breakfast or snack. The magic lies in chia seeds’ ability to transform into a creamy, pudding-like consistency with just a few simple ingredients. It’s packed with fiber, omega-3 fatty acids, and antioxidants, making it a powerhouse of nutrition without sacrificing taste. Whether you’re a seasoned cook or just starting in the kitchen, you’ll find this recipe a breeze to master.
I love to serve my chia seed pudding chilled, topped with fresh berries, a drizzle of honey or maple syrup, and a sprinkle of granola for a delightful crunch. Feel free to get creative with your toppings – sliced banana, toasted coconut flakes, or even a dollop of yogurt are fantastic choices. For variations, consider infusing your base liquid with a hint of vanilla extract, cinnamon, or even a touch of cocoa powder for a chocolatey twist. You can also experiment with different plant-based milks like almond, soy, or oat milk to find your favorite flavor profile.
I truly encourage you to give this chia seed pudding recipe a try. It’s a fantastic way to start your day feeling nourished and energized, or to enjoy a guilt-free treat. Don’t be afraid to experiment and make it your own!
Frequently Asked Questions about Chia Seed Pudding:
Q: How long does chia seed pudding last in the refrigerator?
A: Chia seed pudding can be stored in an airtight container in the refrigerator for up to 3-4 days. The texture might thicken slightly over time, but you can usually loosen it up with a splash of milk.
Q: Can I make this chia seed pudding recipe ahead of time for meal prep?
A: Absolutely! This recipe is perfect for meal prep. I often make a big batch on Sunday to have grab-and-go breakfasts for the week. Just be sure to store it in individual portions.
Q: What if my chia seed pudding isn’t thickening?
A: Ensure you’re using the correct ratio of chia seeds to liquid. If it’s still too thin, you can add a tablespoon or two more chia seeds and let it sit for another 15-30 minutes. Stirring occasionally during the initial thickening process also helps prevent clumps and encourages even gelling.
Chia Seed Pudding Recipe
A simple and healthy chia seed pudding recipe that’s perfect for breakfast or a snack.
Ingredients
-
3 tablespoons chia seeds
-
1 tablespoon maple syrup
-
1 teaspoon vanilla
-
3/4 cup milk of choice
-
1/4 cup berries (optional garnish)
-
1 tablespoon nuts (optional garnish)
Instructions
-
Step 1
In a bowl or jar, combine the chia seeds, maple syrup, and vanilla. -
Step 2
Pour in the milk of choice and whisk or stir well to combine, ensuring no clumps of chia seeds form. -
Step 3
Let the mixture sit for 5 minutes, then stir again to prevent clumping. -
Step 4
Cover the bowl or jar and refrigerate for at least 2 hours, or preferably overnight, until thickened. -
Step 5
Once thickened, stir the pudding and portion it into serving dishes. -
Step 6
Garnish with berries and nuts if desired before serving.
Important Information
Nutrition Facts (Per Serving)
It is important to consider this information as approximate and not to use it as definitive health advice.
Allergy Information
Please check ingredients for potential allergens and consult a health professional if in doubt.