
Easy Clay Pie Recipe- Simple Steps For Fun Baking
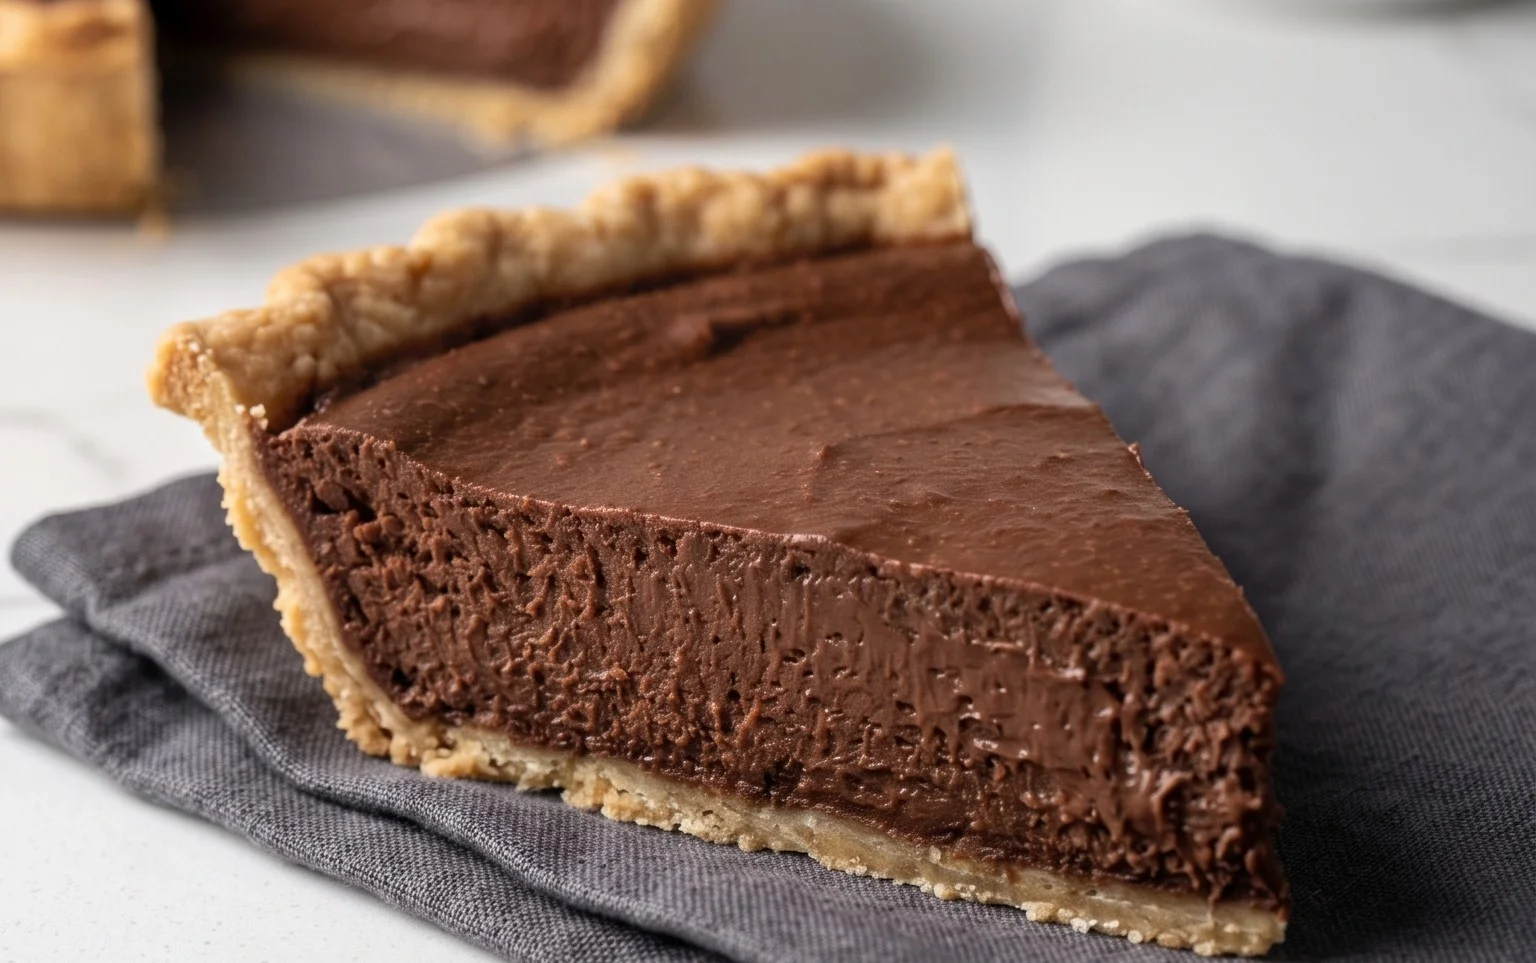
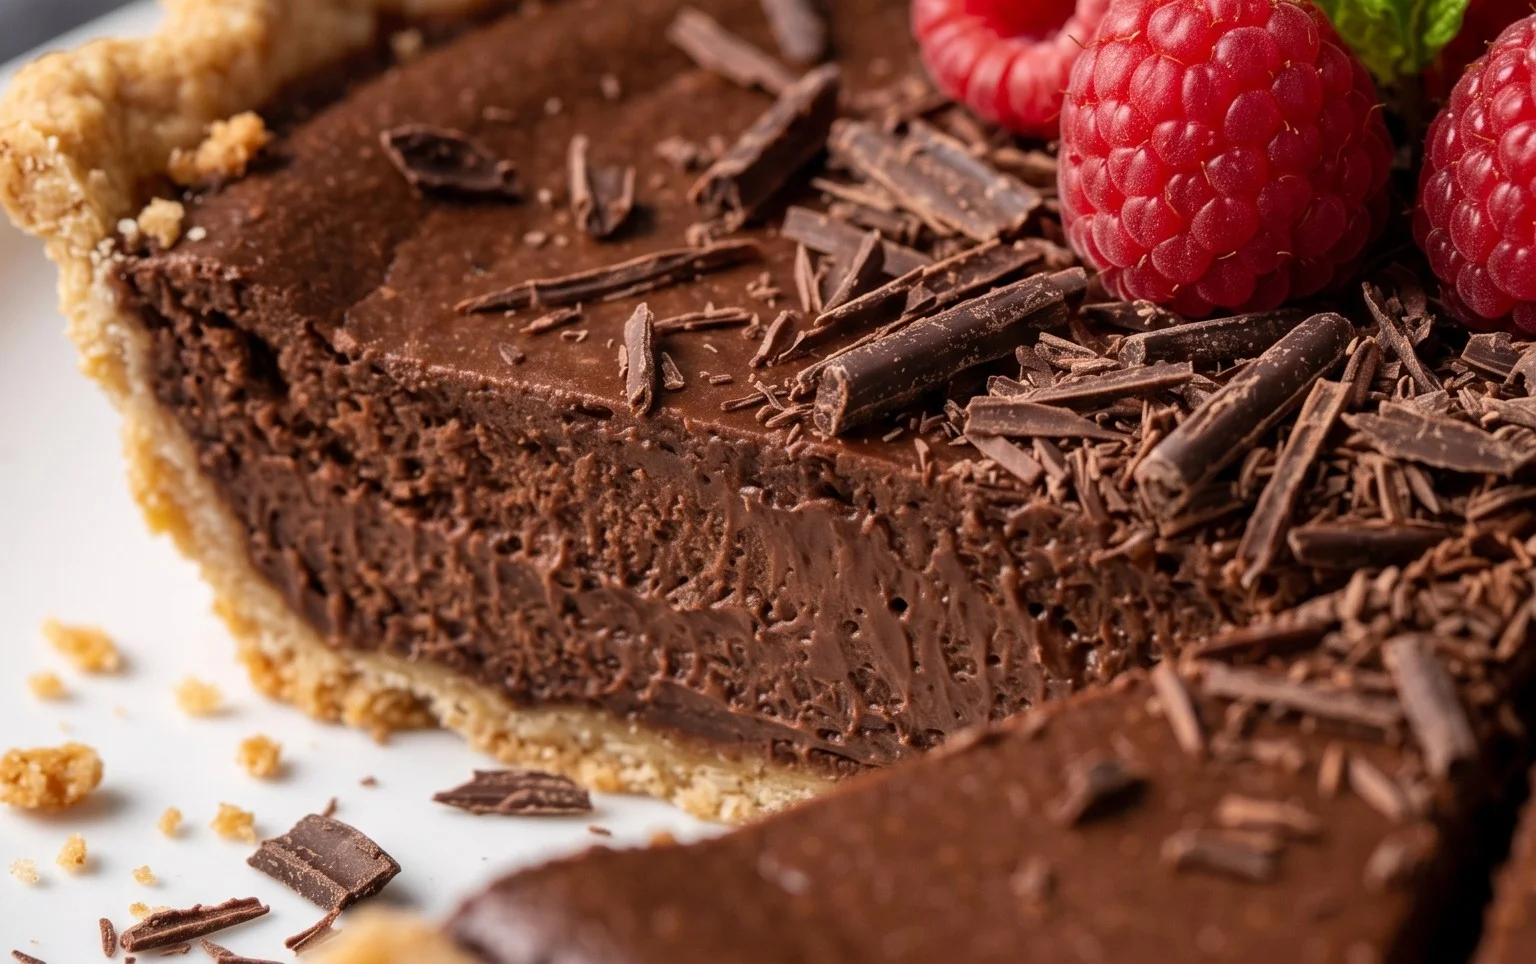
How to Make a Clay Pie is not just a recipe; it’s an adventure for your senses and a journey into a delightful culinary tradition that’s surprisingly simple to master. Imagin extracte the earthy aroma as it bakes, the wonderfully rustic presentation, and the satisfying texture that makes this dish truly unforgettable. People adore clay pie for its comforting homeliness, its versatility, and the sheer, unadulterated joy it brings to the table. What truly makes a clay pie special is its inherent connection to the earth, a unique cooking method that infuses it with a distinct character you simply can’t achieve any other way. Whether you’re a seasoned baker or looking for a fun, new project, preparing your very own clay pie is an incredibly rewarding experience that I can’t wait to share with you.
Get ready to create something magical!
How to Make a Clay Pie
Welcome, fellow crafters! Today, we’re diving into the miniature world to create a delightful little clay pie. This project is perfect for adding a charming touch to your dollhouses, fairy gardens, or even as a unique charm for jewelry. It’s a wonderfully satisfying process, and the result is just so sweet you’ll want to take a bite (but please, don’t!). We’ll be using polymer clay to achieve a realistic and appetizing look. Let’s gather our supplies and get ready to bake up some miniature magic.
Ingredients:
Preparing Your Workspace and Tools
Before we begin extract, ensure you have a clean, flat surface to work on. This could be a craft mat, a piece of parchment paper, or even a smooth tile. This prevents your clay from picking up unwanted dust or debris. You’ll also want a sharp craft knife or a blade for precise cutting, and a small, soft brush for applying the pastel “baking” effects.
Step-by-Step Instructions
1. Creating the Pie Crust Base:
First, we need to create the base of our pie. Take your tan polymer clay and condition it by kneading it until it becomes soft and pliable. This is crucial for easy manipulation and preventing cracks later on. Once conditioned, roll out a thin, even sheet of the tan clay. The thickness should be about 1-2 millimeters – not too thin that it tears easily, but not so thick that it looks heavy. You want it to mimic the delicacy of a real pie crust. Now, take your silver bottle cap and place it upside down on your rolled-out clay. Using your craft knife, carefully cut a circle around the bottle cap, making it slightly larger than the diameter of the cap. This excess clay will form the fluted edges of our pie. Gently lift the clay circle and press it into the inside of the bottle cap. Smooth it down to conform to the shape of the cap, ensuring there are no air bubbles trapped between the clay and the metal. This will be the mold for our pie tin.
2. Forming the Pie Edges:
Now for the fun part – creating those realistic pie crust edges! Take the excess tan clay you cut away from the circle. Roll it into a thin log, about the thickness of a pencil. Carefully place this log around the rim of the clay-lined bottle cap. Use your fingertip or a small sculpting tool to gently press and blend this log into the edge of the base clay. You’re aiming to create a raised edge that will hold the filling. Once the log is secured, you can create texture. You can use the tines of a fork to gently press into the edge, creating a crimped effect, or pinch small sections between your thumb and forefinger to make decorative scallops. Take your time here; the detail in the crust will make your miniature pie truly shine. Don’t worry if it’s not perfect; handmade charm is part of its appeal!
3. Preparing and Adding the Filling:
It’s time to bring our pie to life with a delicious-looking filling! Take your red polymer clay (or whatever color you’ve chosen for your filling – apple red, cherry, blueberry blue, or even a creamy custard yellow all work wonderfully!). Condition this clay until it’s soft and pliable, just like the crust. For a fruity pie, you might want to break off small pieces and slightly flatten them to resemble fruit slices. For a smoother filling, you can simply roll the clay into a ball and then flatten it slightly. Gently place your prepared filling into the clay-lined bottle cap, over the crust base. Don’t overfill it; you want it to look like a natural amount of filling, not overflowing. Leave a small gap around the very edge where the crust would naturally rise up to contain the filling.
4. Adding Depth and Realism to the Filling:
To make your filling look even more realistic and appetizing, we’ll use our soft pastels. Take your two shades of brown soft pastels. Using your finger or a stiff brush, gently rub a small amount of the lighter brown pastel onto the surface of your filling. This can mimic the natural browning of fruit when baked. Then, with the darker brown pastel, you can add subtle shading around the edges where the filling meets the crust, or even create a few darker speckles to represent seeds or the natural variations in fruit. The key here is to be subtle; we’re aiming for realistic color variation, not a heavy coating. A small, dry brush is excellent for gently blending the pastel dust.
5. Baking and Finishing Your Miniature Pie:
Once your pie is assembled and decorated, it’s time for the “baking” process. Polymer clay needs to be baked in a conventional oven according to the manufacturer’s instructions. Typically, this involves baking at a low temperature (around 135°C or 275°F) for a specific duration, usually 15-30 minutes per quarter-inch of thickness. Place your clay pie (still in its bottle cap) on a baking sheet lined with parchment paper. Ensure your oven is preheated accurately, as temperature fluctuations can affect the clay. After baking, allow the pie to cool completely within the oven or on the baking sheet. Once cooled, you can gently remove it from the bottle cap. If desired, you can add a glaze by mixing a tiny bit of translucent liquid polymer clay with a drop of glaze or resin and brushing it lightly over the filling for a shiny, cooked look. However, this is entirely optional and the pastel shading often provides enough realism.
And there you have it – your very own miniature clay pie, ready to be displayed or incorporated into your next crafting project! Enjoy your sweet creation!
Conclusion:
There you have it! Making a clay pie is a wonderfully creative and surprisingly simple way to engage with art and tactile expression. This recipe isn’t just about crafting a decorative piece; it’s an invitation to unwind, get your hands dirty, and let your imagin extractation run wild. The beauty of a clay pie lies in its versatility – you can customize every detail, from the crust texture to the pie filling, making each creation uniquely yours. It’s a fantastic activity for all ages, perfect for a rainy afternoon, a creative party, or simply as a mindful escape from the everyday hustle. Don’t be afraid to experiment with different colors, embellishments, and decorative techniques. You might just discover a hidden tnon-alcoholic alent for miniature sculpture!
Serve your finished clay pie as a charming centerpiece, a unique gift, or a delightful decoration for your home. Consider pairing it with other handmade crafts or presenting it alongside real baked goods for a playful contrast. For variations, try incorporating glitter into the clay for a sparkly crust, using textured tools to mimic different pie fillings, or even creating a series of miniature clay pies in various flavors.
I wholeheartedly encourage you to give this clay pie recipe a try. Embrace the process, enjoy the sensory experience, and celebrate your finished masterpiece! It’s a rewarding and enjoyable endeavor that brings a touch of handmade charm to your life.
Frequently Asked Questions:
Can I use air-dry clay or oven-bake clay for this recipe?
Absolutely! Both air-dry clay and oven-bake clay work wonderfully for making a clay pie. Air-dry clay is convenient as it requires no baking and hardens on its own, while oven-bake clay offers a more durable finish once baked according to package instructions. Choose the type that best suits your project and available resources.
How do I achieve realistic-looking pie filling textures?
To create realistic pie filling, consider using different techniques. For fruit fillings, you can sculpt small berries or slices, or even embed tiny beads or colored glitter for a glossy effect. For creamier fillings, gently press textured tools or even a fork into the clay before it dries to create swirls and peaks. Don’t be afraid to layer colors for depth and dimension!
Can I make my clay pie edible?
This specific recipe is designed for decorative purposes using modeling clay, which is not food-safe or edible. If you’re looking for an edible craft, you would need a recipe using actual pie dough and edible fillings.
How to Make a Clay Pie
A simple tutorial on creating a decorative clay pie, perfect for miniature crafts.
Ingredients
-
Tan Polymer clay
-
Silver bottle cap(s)
-
Red Polymer clay
-
Soft pastels (2 shades of brown)
-
Water (for smoothing, not listed in original but essential for clay)
-
Clay tools (for shaping, not listed but essential for clay)
Instructions
-
Step 1
Knead the Tan Polymer clay until pliable. Roll it out into a thin circle slightly larger than your silver bottle cap. Press the clay into the bottle cap, forming the pie crust. -
Step 2
Use your fingers or a clay tool to crimp and shape the edges of the crust to resemble a real pie crust. -
Step 3
Knead the Red Polymer clay until pliable. Roll it into a ball and flatten it slightly to fit inside the crust. -
Step 4
Gently press the flattened red clay into the crust. Use a clay tool or your fingertip to create a slightly uneven surface for the filling. -
Step 5
Use a toothpick or a fine clay tool to score lines into the crust edges, mimicking the texture of a baked pie crust. -
Step 6
Using a soft brush, gently apply the 2 shades of brown soft pastels to the edges and any raised parts of the crust for a ‘baked’ or ‘toasted’ appearance. -
Step 7
Ensure all clay is smoothly integrated. You can lightly dust with a tiny bit of water to smooth any rough edges on the clay.
Important Information
Nutrition Facts (Per Serving)
It is important to consider this information as approximate and not to use it as definitive health advice.
Allergy Information
Please check ingredients for potential allergens and consult a health professional if in doubt.


