Frozen Banana Yogurt Bites Easy & Healthy Snack
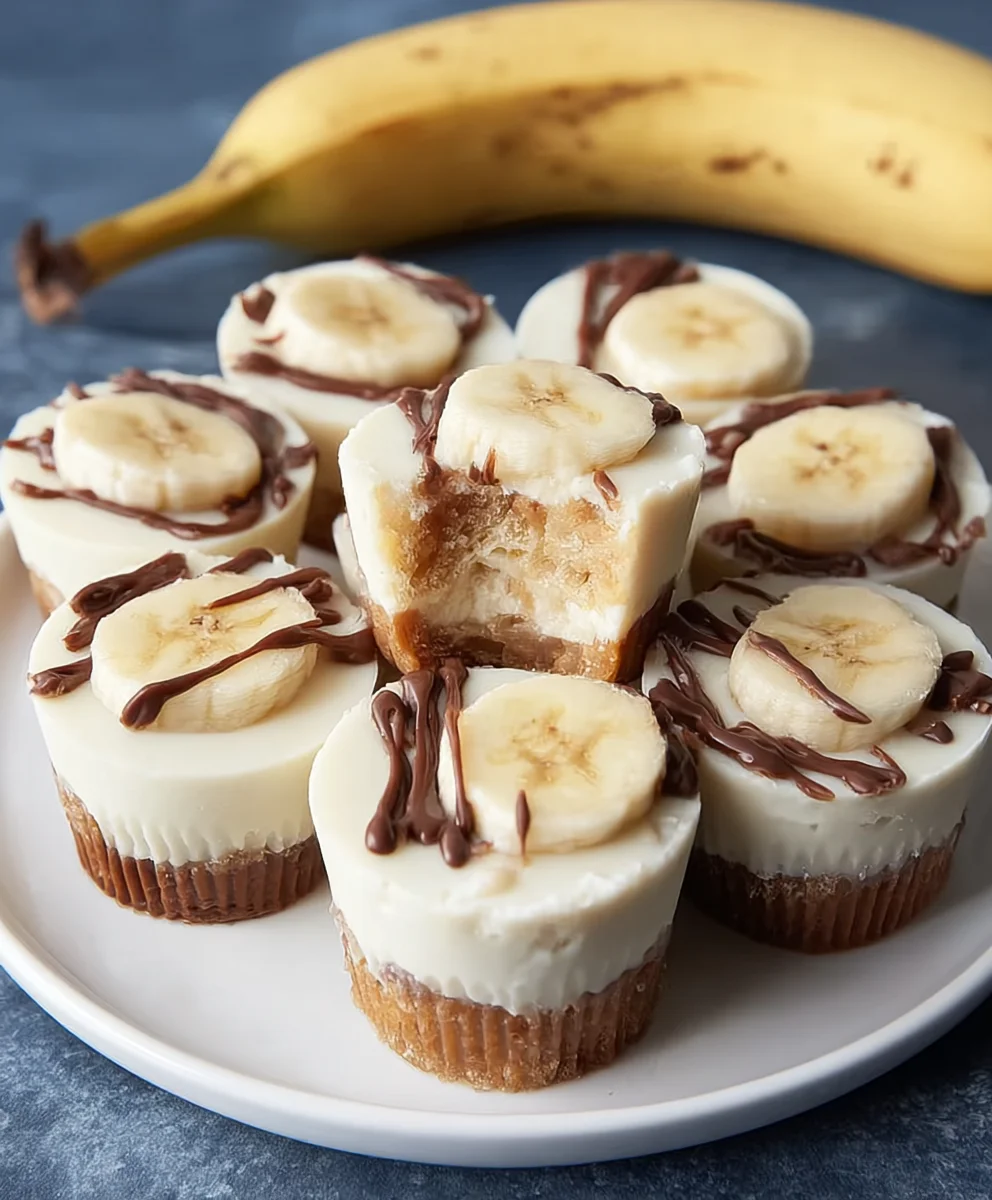
Frozen Banana Yogurt Bites are the ultimate guilt-free treat that will revolutionize your snack game. Imagin extracte a dessert that’s both incredibly refreshing and satisfyingly sweet, all while being packed with wholesome goodness. That’s the magic of these delightful bites! People absolutely adore them because they offer a perfect solution for those moments when you crave something sweet but want to avoid refined sugars and unhealthy fats. They’re wonderfully creamy, bursting with natural fruit flavor, and possess a delightful chill that’s perfect for a warm afternoon or a post-workout reward. What truly sets these Frozen Banana Yogurt Bites apart is their incredible versatility and ease of preparation. You can customize them with a variety of toppings, making each batch uniquely your own. They’re so simple to whip up, even the busiest among us can create a batch of these delicious Frozen Banana Yogurt Bites in no time.
Ingredients:
- 1 large ripe banana
- 150 g yogurt of your choice (natural yogurt or Greek yogurt are excellent choices for a thicker texture)
- A handful of dried banana chips, roughly chopped (optional, for added texture and flavor)
Preparing Your Frozen Banana Yogurt Bites
The beauty of these Frozen Banana Yogurt Bites lies in their simplicity and the minimal preparation required. You’ll be amazed at how quickly these delicious and healthy treats come together, making them perfect for a last-minute snack or dessert.
Step 1: Preparing the Banana Base
Begin extract by peeling the large ripe banana. A ripe banana is crucial here as it provides natural sweetness and a softer texture, which is easier to mash and coat with yogurt. Place the peeled banana on a clean cutting board. Using a fork, thoroughly mash the banana until it reaches a smooth, paste-like consistency. You want to ensure there are no large lumps remaining, as this will create a more uniform bite. For easier handling and shaping, you can transfer the mashed banana to a small bowl. If you prefer a slightly sweeter bite without adding extra sugar, ensure your banana is very ripe, as this maximizes its natural sugars.
Step 2: Incorporating the Yogurt
Next, measure out 150 g of your chosen yogurt. Natural yogurt or a thick Greek yogurt will yield the best results, creating a creamier coating that holds its shape well when frozen. If you’re using a thinner yogurt, you might find the bites a little more delicate, but still perfectly delicious. Add the yogurt directly to the mashed banana. Gently fold the yogurt into the banana mash using a spoon or spatula. Continue to mix until the banana and yogurt are completely combined into a smooth, cohesive mixture. Avoid overmixing, which can sometimes make the mixture too liquidy, especially if your yogurt is already quite thin. The goal is a thick, spoonable consistency that can be easily dolloped.
Step 3: Shaping the Bites
Now comes the fun part – shaping your bites! You have a couple of excellent options here, depending on your preference and available tools.
The simplest method is to use a small spoon to dollop portions of the banana-yogurt mixture onto a baking sheet lined with parchment paper. Aim for bite-sized portions, roughly a teaspoon or tablespoon in size, depending on how big you want your treats to be. Ensure you leave a little space between each dollop as they will spread slightly as they freeze.
Alternatively, if you have a small cookie scoop or even a ziplock bag with a corner snipped off, you can create more uniform shapes. For the ziplock bag method, spoon the mixture into the bag, snip off a small corner, and then pipe small mounds onto the parchment paper. This method is great for achieving consistent sizes. The parchment paper is essential as it prevents the bites from sticking to the baking sheet once frozen.
Step 4: Adding the Optional Topping
If you’re using the dried banana chips, this is the stage to add them. Take your handful of dried banana chips and give them a quick chop with a knife. This will create smaller, more manageable pieces that will adhere better to the yogurt. Gently press a few of the chopped banana chips onto the top of each banana-yogurt dollop. This not only adds a delightful crunch and an extra burst of banana flavor but also makes your Frozen Banana Yogurt Bites visually appealing. If you don’t have banana chips, other toppings like shredded coconut, chia seeds, or a sprinkle of cinnamon can also be used at this stage.
Step 5: Freezing to Perfection
Once all your bites are shaped and topped (if desired), carefully place the baking sheet into the freezer. Allow the bites to freeze for at least 2-3 hours, or until they are completely firm and solid. The freezing time will depend on the size of your bites and the temperature of your freezer. It’s a good idea to check on them after a couple of hours to gauge their firmness. Ensure they are fully frozen before attempting to remove them from the parchment paper. Once frozen solid, you can transfer the bites to an airtight container or a freezer-safe bag for longer storage. This makes them easy to grab and enjoy whenever a craving strikes. Storing them in a single layer initially in the container can prevent them from clumping together.
Conclusion:
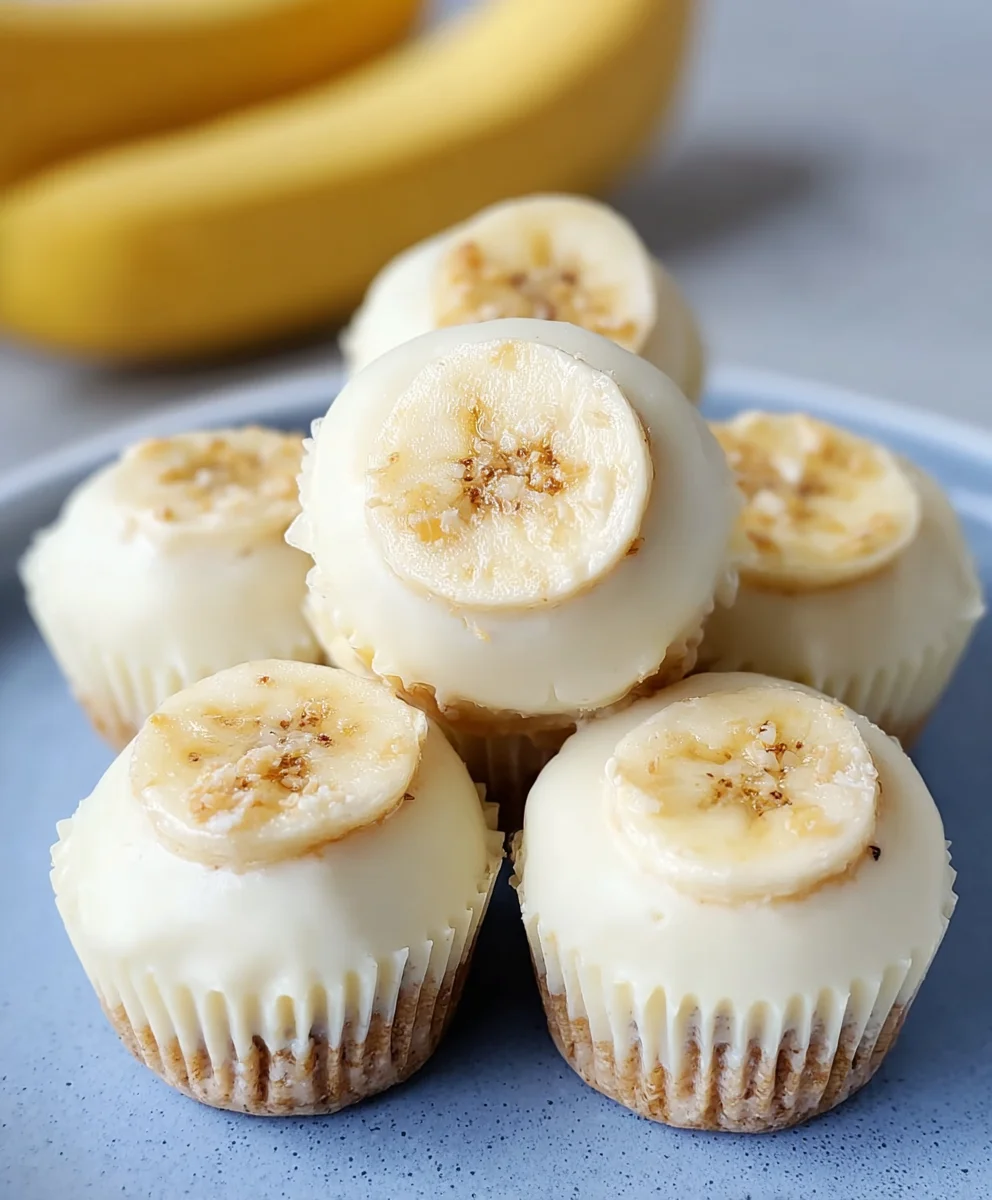
And there you have it – the simplest, most satisfying way to create delicious Frozen Banana Yogurt Bites! We’ve explored how easy it is to transform humble bananas and your favorite yogurt into a delightful, healthy treat that’s perfect for any occasion. These bites are not only fun to make but incredibly versatile, making them a hit with both kids and adults. Don’t hesitate to get creative; the possibilities are truly endless when it comes to personalizing these delightful morsels. So, go ahead, whip up a batch, and enjoy the refreshing goodness of your homemade Frozen Banana Yogurt Bites! We encourage you to experiment with different toppings and yogurt flavors to discover your personal favorite combination.
For serving, these Frozen Banana Yogurt Bites are fantastic on their own as a snack, dessert, or even a breakfast pick-me-up. They also make a wonderful addition to smoothie bowls, yogurt parfaits, or as a colorful garnish on pancakes.
Don’t be afraid to explore variations! Try different types of yogurt – Greek yogurt for extra protein, dairy-free options like coconut or almond yogurt for a vegan twist. Consider adding a drizzle of honey or maple syrup before freezing for a touch of sweetness, or incorporate a pinch of cinnamon or vanilla extract into the yogurt for an extra flavor dimension.
Frequently Asked Questions about Frozen Banana Yogurt Bites:
Q1: Can I use a different type of fruit besides bananas?
While bananas provide a naturally creamy and sweet base that freezes beautifully, you can experiment with other fruits. However, be aware that the texture might differ significantly. For example, berries might result in a more icy bite. If you try other fruits, consider pureeing them with a bit of yogurt to help them bind and freeze better.
Q2: How long do Frozen Banana Yogurt Bites last in the freezer?
When stored properly in an airtight container or freezer bag, Frozen Banana Yogurt Bites can last for up to 2-3 months. For the best texture and flavor, it’s recommended to consume them within the first month.
Frozen Banana Yogurt Bites
Easy and healthy frozen banana yogurt bites, perfect for a quick and nutritious snack.
Ingredients
-
1 large ripe banana
-
150 g yogurt of your choice (natural or Greek yogurt recommended)
-
1/2 cup milk (optional, for thinner consistency)
-
1 tablespoon honey or maple syrup (optional, for sweetness)
-
1/4 cup dried banana chips, roughly chopped (optional topping)
-
1 tablespoon chia seeds (optional topping)
Instructions
-
Step 1
Peel the ripe banana and mash it thoroughly with a fork until smooth. Transfer to a bowl. -
Step 2
Add the yogurt to the mashed banana. If using, add milk and sweetener. Gently fold until well combined into a thick, spoonable mixture. -
Step 3
Line a baking sheet with parchment paper. Dollop small, bite-sized portions of the mixture onto the prepared baking sheet. -
Step 4
If using, gently press chopped dried banana chips or chia seeds onto the top of each bite. -
Step 5
Place the baking sheet in the freezer and freeze for at least 2-3 hours, or until completely firm. -
Step 6
Once frozen, transfer the bites to an airtight container and store in the freezer.
Important Information
Nutrition Facts (Per Serving)
It is important to consider this information as approximate and not to use it as definitive health advice.
Allergy Information
Please check ingredients for potential allergens and consult a health professional if in doubt.