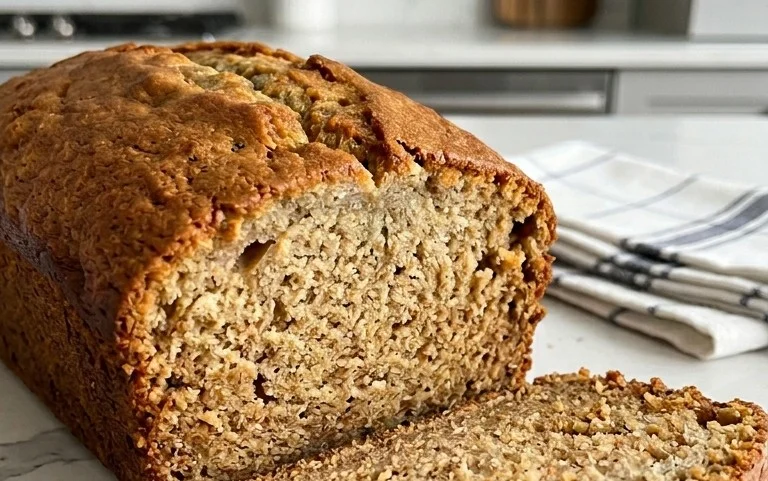
Healthy Banana Oatmeal Muffins – Easy & Delicious Recipe
Healthy Banana Oatmeal Muffins are the quintessential breakfast upgrade, offering a delightful way to kickstart your day with sustained energy and pure joy. If you’ve ever craved a guilt-free treat that’s both satisfying and incredibly delicious, you’ve come to the right place. These muffins are beloved for their comforting warmth, naturally sweet banana flavor, and the wholesome goodness of oats that keep you feeling full and focused. What truly makes these Healthy Banana Oatmeal Muffins special is their incredible versatility and the simple, wholesome ingredients that come together to create a masterpiece of texture and taste. Forget those store-bought muffins that are often loaded with sugar and artificial ingredients; our recipe focuses on nourishing your body while treating your taste buds. They’re perfect for busy mornings, a mid-afternoon snack, or even a light dessert, proving that healthy eating can be incredibly enjoyable. We’re about to unlock the secrets to making these the most perfect Healthy Banana Oatmeal Muffins you’ve ever had!

Ingredients:
- 1 ½ Cups old fashioned oats or rolled oats
- 1 ¼ Cups all-purpose flour
- ½ cup granulated sugar
- 1 ½ teaspoons baking powder
- 1 teaspoon baking soda
- ¼ teaspoon salt
- 1 teaspoon ground cinnamon
- Pinch of ground nutmeg
- 1 whole large egg
- ¼ cup vegetable oil (or any neutral-flavored oil like canola or melted coconut oil)
- 1 teaspoon vanilla extract
- 1 ½ cups mashed ripe bananas (this will be approximately 3-4 medium to large very ripe bananas)
- ½ cup old fashioned oats (for topping)
- ¼ teaspoon ground cinnamon (for topping)
- 2 Tablespoons packed light brown sugar (for topping)
Preparing the Batter
Dry Ingredients Whisking
In a large mixing bowl, combine all of your dry ingredients. This includes the 1 ½ cups of old fashioned oats, 1 ¼ cups of all-purpose flour, ½ cup of granulated sugar, 1 ½ teaspoons of baking powder, 1 teaspoon of baking soda, ¼ teaspoon of salt, 1 teaspoon of ground cinnamon, and that tiny pinch of ground nutmeg. Whisk these ingredients together thoroughly. It’s important to ensure the leavening agents (baking powder and baking soda) are evenly distributed throughout the flour and oats. This step helps guarantee that your muffins will rise beautifully and evenly, preventing any dense spots. A good whisking also breaks up any clumps in the flour or sugar, contributing to a smoother batter.
Wet Ingredients Combination
In a separate medium-sized bowl, whisk together the wet ingredients. Start with the single whole large egg. Then, add the ¼ cup of vegetable oil, making sure it’s fully incorporated with the egg. Next, pour in the 1 teaspoon of vanilla extract. Vanilla extract adds a wonderful depth of flavor and aroma to baked goods, and it complements the banana beautifully. Finally, add the 1 ½ cups of mashed ripe bananas. The riper the bananas, the sweeter and more potent their flavor will be, and the easier they are to mash into a smooth consistency. Use a fork to mash them until they are mostly smooth, with perhaps a few small lumps remaining. Whisk all of these wet ingredients together until they are well combined and the mixture is uniform in color.
Combining Wet and Dry Mixtures
Now it’s time to bring everything together. Pour the wet ingredients into the bowl with the dry ingredients. Using a spatula or a wooden spoon, gently fold the ingredients together. The key here is to mix just until the dry ingredients are moistened and no streaks of flour remain. Overmixing can develop the gluten in the flour too much, resulting in tough muffins. A few small lumps in the batter are perfectly fine and even desirable for a tender muffin. We want to be gentle with this batter to keep our muffins light and fluffy.
Forming and Baking the Muffins
Preparing the Muffin Tin
Preheat your oven to 375°F (190°C). This is a standard baking temperature that works well for muffins. Line a standard 12-cup muffin tin with paper liners, or generously grease each cup with cooking spray or butter. Ensuring your muffin tin is properly prepared will prevent the muffins from sticking and make cleanup much easier. If you don’t have liners, greasing well is crucial. Some people also like to use a pastry brush to get the grease into all the nooks and crannies of the muffin tin.
Filling the Muffin Cups
Once your batter is ready, evenly distribute it among the prepared muffin cups. Aim to fill each cup about two-thirds to three-quarters full. This allows enough room for the muffins to rise without overflowing. You can use a cookie scoop or two spoons to portion the batter. Be sure to get all the deliciousness from the bowl into the tin!
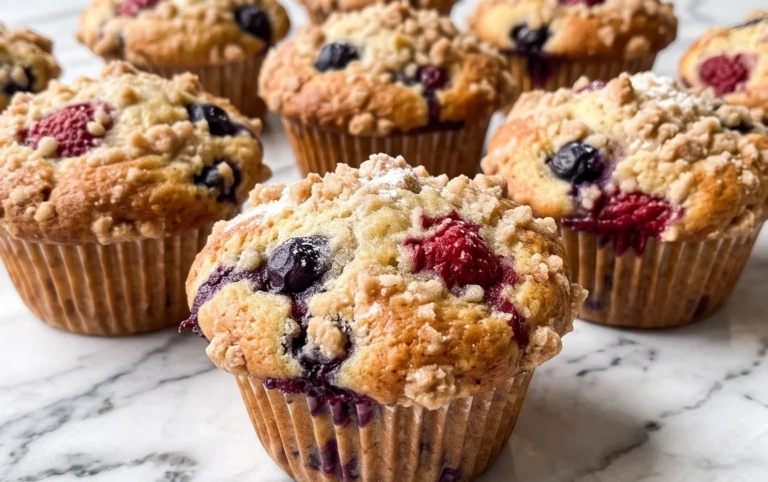
Creating the Topping
In a small bowl, prepare the delightful oat topping. Combine the remaining ½ cup of old fashioned oats, ¼ teaspoon of ground cinnamon, and 2 tablespoons of packed light brown sugar. Stir these ingredients together until they are well mixed. This topping adds a lovely crunch and extra cinnamon-sugar flavor to the top of each muffin, elevating them beyond a simple baked good.
Adding the Topping and Baking
Sprinkle the prepared oat topping evenly over the top of each muffin. Press it down very gently so it adheres to the batter. Place the muffin tin into your preheated oven. Bake for approximately 18-22 minutes. You’ll know the muffins are done when a toothpick inserted into the center of a muffin comes out clean, or with just a few moist crum extractbs attached. The tops should be golden brown and slightly springy to the touch.
Cooling the Muffins
Once baked, remove the muffin tin from the oven. Let the muffins cool in the tin for about 5-10 minutes. This allows them to set up properly and prevents them from breaking when you remove them. After the initial cooling in the tin, carefully transfer the muffins to a wire rack to cool completely. Cooling on a wire rack allows air to circulate around all sides of the muffins, preventing the bottoms from becoming soggy. Ensure they are fully cooled before storing, if you manage to resist eating them all immediately!

Conclusion:
And there you have it – a simple yet incredibly satisfying recipe for Healthy Banana Oatmeal Muffins! I hope you enjoyed making these wholesome treats as much as I do. They are the perfect way to start your day with a burst of natural sweetness and sustained energy, thanks to the wholesome combination of ripe bananas and hearty oats. The subtle hint of cinnamon adds a comforting warmth that makes these muffins truly irresistible.
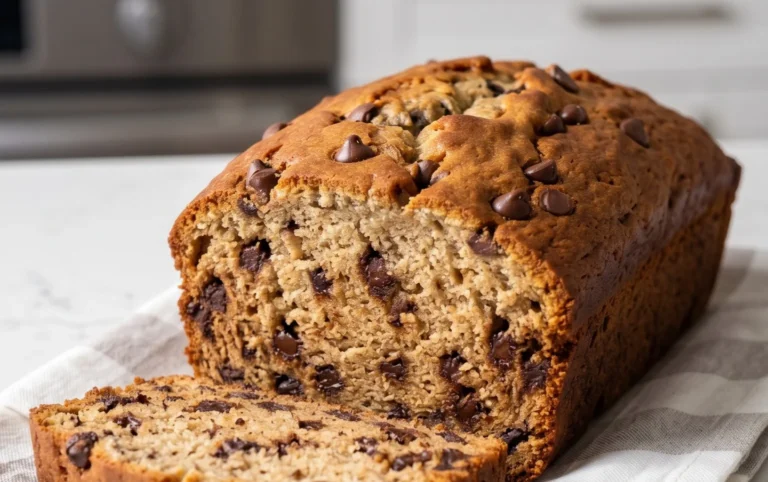
These Healthy Banana Oatmeal Muffins are wonderfully versatile. Enjoy them warm straight from the oven with a drizzle of honey or a dollop of Greek yogurt for a more substantial breakfast. They also make fantastic grab-and-go snacks for busy afternoons or a guilt-free dessert. For a delightful twist, consider adding a handful of chopped walnuts or pecans for extra crunch, or a sprinkle of dark chocolate chips for a touch of indulgence. Don’t be afraid to experiment with other spices like nutmeg or gin extractger!
Baking is all about personal touch and enjoyment, so I encourage you to give this recipe a try. Whether you’re a seasoned baker or just starting out, these muffins are incredibly forgiving and always turn out delicious. Embrace the process, savor the aromas, and most importantly, enjoy the wonderful taste of your homemade Healthy Banana Oatmeal Muffins!
Frequently Asked Questions:
Can I make these muffins ahead of time?
Absolutely! Healthy Banana Oatmeal Muffins are perfect for meal prepping. Once cooled completely, store them in an airtight container at room temperature for up to 3 days, or in the refrigerator for up to a week. They also freeze beautifully for up to 3 months; just let them thaw overnight at room temperature or gently warm them in the oven or microwave.
Are these muffins suitable for gluten-free diets?
Yes, you can easily adapt these Healthy Banana Oatmeal Muffins for a gluten-free diet. Simply ensure you use certified gluten-free rolled oats. All other ingredients are typically gluten-free, but it’s always a good idea to check the labels of any processed ingredients you use to be completely sure.
Healthy Banana Oatmeal Muffins – Easy & Delicious Recipe
These healthy banana oatmeal muffins are incredibly easy to make and packed with delicious flavor. They are perfect for breakfast or a healthy snack.
Ingredients
-
1 ½ Cups old fashioned oats
-
1 ¼ Cups all-purpose flour
-
½ cup granulated sugar
-
1 ½ teaspoons baking powder
-
1 teaspoon baking soda
-
¼ teaspoon salt
-
1 teaspoon ground cinnamon
-
pinch of ground nutmeg
-
1 whole large egg
-
¼ cup vegetable oil
-
1 teaspoon vanilla extract
-
1 ½ cups mashed ripe bananas
-
½ cup old fashioned oats (for topping)
-
¼ teaspoon ground cinnamon (for topping)
-
2 Tablespoons packed light brown sugar (for topping)
Instructions
-
Step 1
In a large mixing bowl, whisk together 1 ½ cups old fashioned oats, 1 ¼ cups all-purpose flour, ½ cup granulated sugar, 1 ½ teaspoons baking powder, 1 teaspoon baking soda, ¼ teaspoon salt, 1 teaspoon ground cinnamon, and a pinch of ground nutmeg. -
Step 2
In a separate bowl, whisk together 1 whole large egg, ¼ cup vegetable oil, 1 teaspoon vanilla extract, and 1 ½ cups mashed ripe bananas. -
Step 3
Pour the wet ingredients into the dry ingredients and gently fold until just combined. Do not overmix. -
Step 4
Preheat oven to 375°F (190°C). Line a 12-cup muffin tin with paper liners or grease well. Fill each cup about two-thirds to three-quarters full with batter. -
Step 5
In a small bowl, combine ½ cup old fashioned oats, ¼ teaspoon ground cinnamon, and 2 tablespoons packed light brown sugar for the topping. Sprinkle evenly over the muffin batter. -
Step 6
Bake for 18-22 minutes, or until a toothpick inserted into the center comes out clean. Let cool in the tin for 5-10 minutes before transferring to a wire rack to cool completely.
Important Information
Nutrition Facts (Per Serving)
It is important to consider this information as approximate and not to use it as definitive health advice.
Allergy Information
Please check ingredients for potential allergens and consult a health professional if in doubt.