Easy Dill Dip Recipe- Creamy & Delicious Flavor
Dill dip is one of those magical recipes that transforms simple ingredients into something truly extraordinary. It’s the ultimate crowd-pleaser, a creamy, herbaceous wonder that disappears faster than you can say “more chips, please!” What is it about this delightful concoction that makes it so universally beloved? Perhaps it’s the bright, fresh punch of dill, perfectly balanced by a rich, velvety base. Or maybe it’s the sheer versatility of this dill dip – it’s the perfect companion to crunchy vegetables, a luscious dip for potato wedges, and even a flavourful spread for sandwiches. This particular dill dip recipe elevates the classic with a few key touches that bring out its inherent deliciousness, making it a guaranteed hit at any gathering.
Why You’ll Love This Dill Dip
This dill dip isn’t just a dip; it’s an experience. It’s incredibly easy to whip up, meaning you can have a gourmet appetizer ready in minutes. The vibrant green flecks of dill are not only visually appealing but promise a burst of fresh, aromatic flavor with every bite. We’ve perfected this recipe to ensure a smooth, creamy texture that coats your dippers beautifully, making it impossible to resist. Whether you’re hosting a party or just craving a satisfying snack, this dill dip is your answer.
A Symphony of Freshness
What sets this dill dip apart is its emphasis on fresh dill. While dried dill has its place, there’s an unparalleled vibrancy and aromatic quality that only fresh herbs can provide. We combine this star ingredient with a perfectly seasoned creamy base that’s both indulgent and light. It’s the kind of recipe that makes people ask for the secret, and the secret is simply good ingredients handled with care.
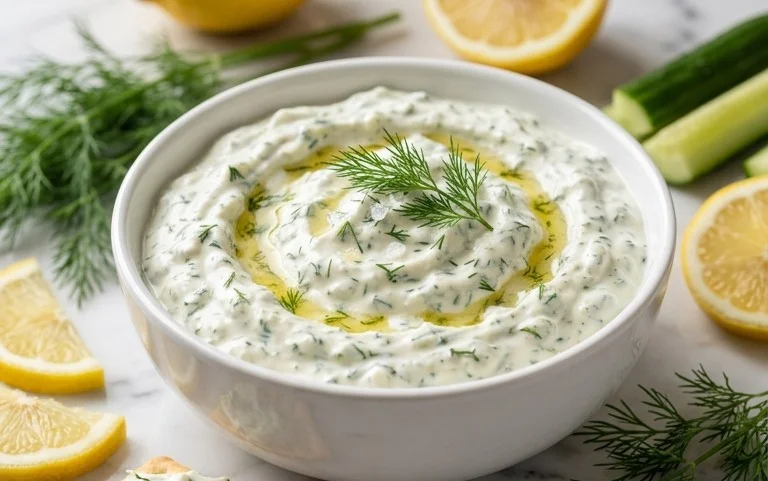
Dill Dip: The Ultimate Crowd-Pleaser
There are some recipes that just have a way of making everything better. My dill dip is one of those recipes. It’s incredibly simple to whip up, yet the flavor is so vibrant and satisfying that it transforms even the most mundane platter of veggies into something special. This dip is a perennial favorite at potlucks, barbecues, and even just for a casual weeknight snack. It’s wonderfully creamy, with a bright, herbaceous punch from the fresh dill and parsley, and a subtle kick from the onion flakes. Best of all, it requires absolutely no cooking, making it perfect for those hot days when you don’t want to turn on the oven or stove. Let me show you how easy it is to create this delightful dip that will have everyone asking for the recipe.
Ingredients:
Preparation and Mixing
The beauty of this dill dip lies in its simplicity, and the most important part of the preparation is ensuring you have fresh, good-quality ingredients. The mayonnaise provides the creamy base, and I prefer to use a full-fat version for the best texture and richness. Similarly, full-fat sour cream contributes to that delightful tang and velvety consistency. Don’t skimp on the herbs! Fresh dill is the star here, so make sure it’s vibrant and fragrant. I like to give the stems a gentle rinse and then pat them dry thoroughly before finely chopping them. The same goes for the fresh parsley; its bright, slightly peppery notes complement the dill beautifully.
The onion flakes are a fantastic shortcut to onion flavor without the sharpness of raw onion. They rehydrate in the dip, softening and releasing their savory essence. If you can’t find onion flakes, you can finely mince about half a small onion, but be aware that raw onion can sometimes be a bit too potent for a dip. The seasoned salt is a key ingredient that adds a layer of savory complexity. Brands like Lawrey’s are a great choice because they already contain a blend of salt, spices, and often a touch of sugar and onion powder, which harmonizes perfectly with the other flavors in the dip. When measuring your herbs, be generous; their freshness is what makes this dip sing.
Step-by-Step Instructions
1. Combine the Creamy Bases: In a medium-sized mixing bowl, add the 1 cup of mayonnaise and the 1 cup of sour cream. Use a whisk or a sturdy spoon to blend these two ingredients together until they are thoroughly combined and have a smooth, uniform consistency. This initial step is crucial for ensuring that the entire dip has a consistent texture and that no pockets of just mayonnaise or sour cream remain. I like to stir them for a good minute or so, making sure to scrape the sides and bottom of the bowl to incorporate everything evenly. This creates the perfect canvas for our vibrant flavors.
2. Incorporate the Aromatics and Herbs: To the creamy mixture, add the 2 tablespoons of onion flakes. Next, add the 3 tablespoons of finely chopped fresh dill and the 1 tablespoon of finely chopped fresh parsley. It’s important to chop your herbs as finely as possible to distribute their flavor evenly throughout the dip. If you have a herb chopper or a sharp knife, this is the time to use them. The goal is to have small, almost confetti-like pieces of herbs, rather than large sprigs, so every bite of dip is infused with their freshness.
3. Seasoning for Perfection: Now, add the 1 teaspoon of seasoned salt to the bowl. This seasoned salt will not only provide the necessary saltiness but also a subtle blend of other flavors that enhance the overall taste profile of the dip. If you’re using plain salt, you might want to add a pinch of garlic powder or onion powder to mimic the complexity of seasoned salt. Give everything a good stir with your spoon or whisk, ensuring that all the ingredients are evenly distributed. Make sure there are no dry spots of onion flakes or clumps of herbs.
4. Chill and Allow Flavors to Meld: Once all the ingredients are thoroughly mixed, cover the bowl tightly with plastic wrap or a lid. Place the bowl in the refrigerator and let the dip chill for at least 30 minutes. This chilling period is not just for making the dip cold; it’s essential for allowing the flavors to meld together. The onion flakes will begin extract to soften and rehydrate, and the herbs will infuse their vibrant aromas into the creamy base. The longer it chills, the more complex and well-rounded the flavors will become. I often make this dip a few hours in advance, or even the night before, to really let those flavors develop.
5. Taste and Adjust (Optional but Recommended): After the initial chilling period, give the dip a quick stir. Before serving, I always recommend tasting a small amount to see if it needs any further adjustment. Depending on your personal preference or the saltiness of your seasoned salt, you might want to add a tiny bit more salt. If you prefer a tangier dip, a small squeeze of fresh lemon juice can also be a delightful addition, although it’s not part of the origin extractal recipe. Likewise, if you are a big dill fan, you can always add a little extra fresh dill. Once you’re happy with the taste, your delicious dill dip is ready to be served!
This dill dip is incredibly versatile. It’s a classic accompaniment to a crudité platter, offering a refreshing contrast to crisp vegetables like carrots, celery, bell peppers, and broccoli. It’s also fantastic with potato chips, crackers, or even as a spread for sandwiches and wraps. You can even use it as a topping for baked potatoes or grilled chicken. Enjoy this simple yet incredibly satisfying homemade dip!
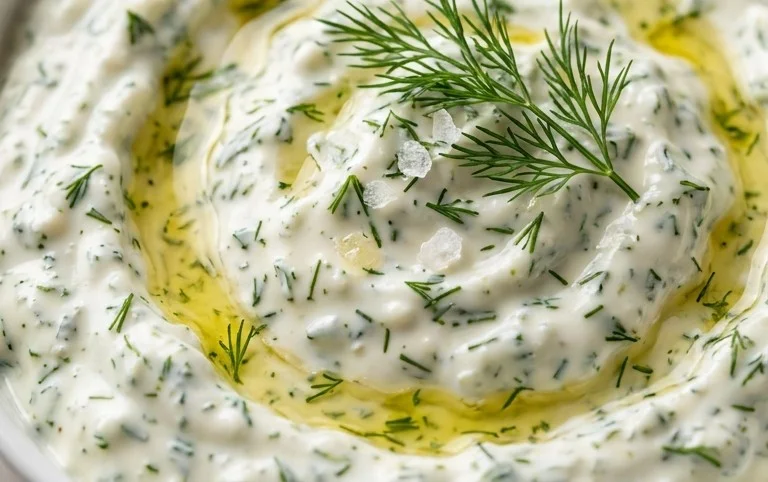
Conclusion:
And there you have it – the simplest and most satisfying dill dip recipe! This creamy, herb-infused delight is incredibly versatile and ridiculously easy to make, making it a guaranteed crowd-pleaser for any occasion. Its fresh flavor profile is the perfect complement to a wide array of appetizers, transforming ordinary snacks into something truly special. I encourage you to give this fantastic dill dip a try; I’m confident you’ll find it as addictive as I do.
Feel free to experiment with serving suggestions! Beyond the classic veggie platter, imagin extracte this dill dip accompanying baked potatoes, chicken wings, or even as a light sandwich spread. For variations, consider adding a pinch of garlic powder for an extra kick, a squeeze of lemon juice for brightness, or even a tablespoon of sour cream for an even richer texture. The possibilities are endless, and the core recipe is so forgiving.
Frequently Asked Questions:
Can I make this dill dip ahead of time?
Absolutely! This dill dip actually tastes even better when the flavors have a chance to meld. I recommend making it at least an hour or two in advance, or even the day before, and storing it in an airtight container in the refrigerator.
What is the best way to store leftover dill dip?
Store any leftover dill dip in an airtight container in the refrigerator. It should stay fresh for up to 3-4 days. Give it a good stir before serving again.
Can I use dried dill instead of fresh dill?
Yes, you can. If using dried dill, you’ll want to use about 1 teaspoon to 1.5 teaspoons, as dried herbs are more concentrated than fresh. Start with 1 teaspoon and add more to taste.
Dill Dip
A classic and refreshing dill dip, perfect for vegetables, chips, or as a sandwich spread.
Ingredients
-
1 cup (232 g) mayonnaise
-
1 cup (230 g) sour cream
-
2 tablespoons onion flakes
-
3 tablespoons fresh dill
-
1 tablespoon fresh parsley
-
1 teaspoon seasoned salt ((such as Lawrey’s))
Instructions
-
Step 1
In a medium bowl, combine the mayonnaise and sour cream until smooth. -
Step 2
Add the onion flakes to the mixture. -
Step 3
Finely chop the fresh dill and add it to the bowl. -
Step 4
Finely chop the fresh parsley and add it to the bowl. -
Step 5
Stir in the seasoned salt. -
Step 6
Mix all ingredients thoroughly until well combined. -
Step 7
For best flavor, cover and refrigerate for at least 30 minutes before serving to allow the flavors to meld.
Important Information
Nutrition Facts (Per Serving)
It is important to consider this information as approximate and not to use it as definitive health advice.
Allergy Information
Please check ingredients for potential allergens and consult a health professional if in doubt.