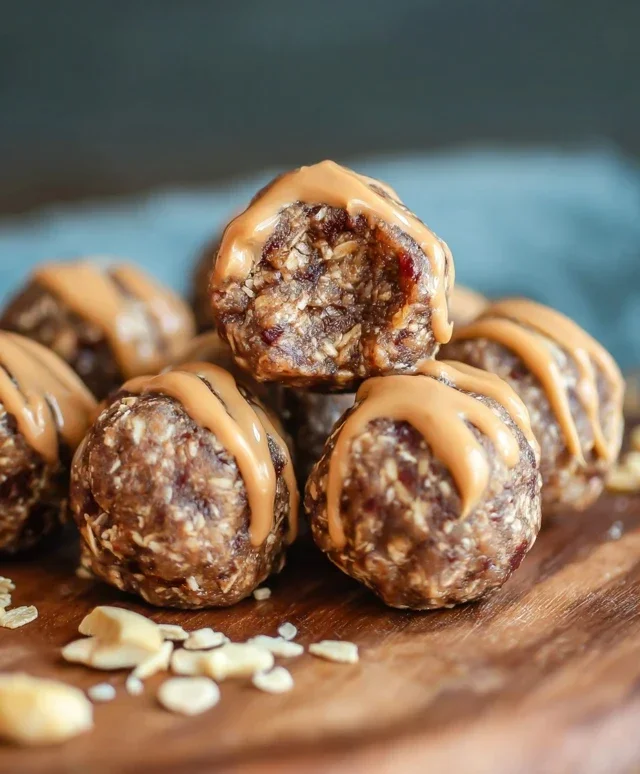
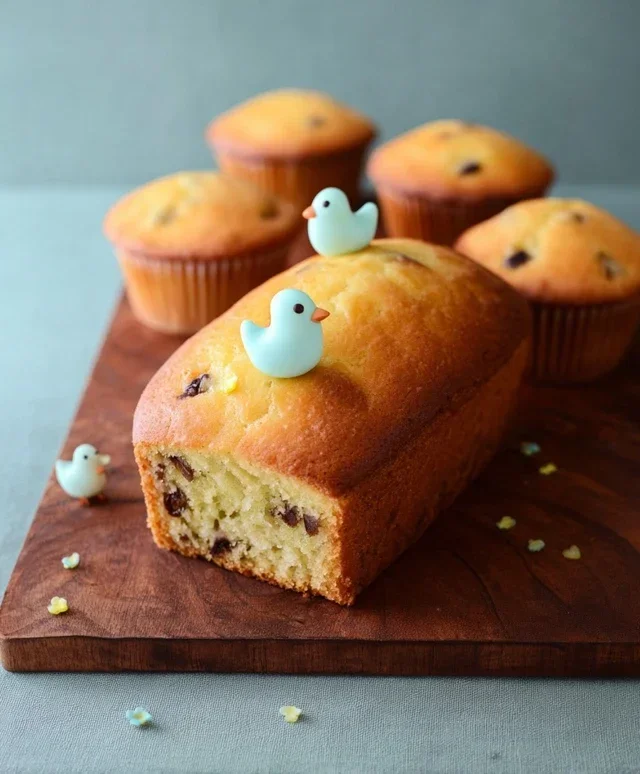
Little Birdie Recipe – Delicious Easy Treat
Let’s talk about the magic of a perfect Little Birdie. This isn’t just any dessert; it’s a whisper of pure joy, a delicate dance of textures and flavors that consistently brings smiles to faces. Have you ever experienced that moment of pure bliss when a forkful of something so light yet so satisfying melts in your mouth? That’s the essence of a truly spectacular Little Birdie. It’s the kind of treat that becomes an instant favorite, the one you crave for celebrations or simply for a comforting afternoon pick-me-up. What makes this particular Little Birdie recipe so special, you ask? It’s the harmonious blend of a cloud-like sweetness with just the right hint of… well, you’ll have to try it to discover its secret charm. Prepare to be enchanted.
Ingredients:
The Little Birdie Bites: Crispy, Golden, and Utterly Addictive
There’s something incredibly satisfying about a perfectly fried piece of chicken. It’s that irresistible crunch, followed by juicy, tender meat that makes it a universal crowd-pleaser. Today, I’m going to share with you my go-to recipe for what I affectionately call “Little Birdie Bites.” These aren’t just any fried chicken pieces; they’re designed to be perfectly bite-sized, incredibly crispy, and bursting with flavor. They’re ideal for appetizers, a fun family dinner, or even as a delightful addition to a packed lunch. The beauty of these Little Birdie Bites lies in their simplicity and the incredible texture achieved through a clever three-stage coating process.
This recipe is all about achieving that restaurant-quality crunch at home. We’ll be using boneless, skinless chicken thighs because they offer superior flavor and moisture compared to breasts, ensuring each bite is succulent. The key to the extraordinary crispiness is the combination of flour, eggs, and a generous coating of panko breadcrum extractbs, elevated with Parmesan cheese and Italian seasoning. Don’t be intimidated by the multiple steps; each one plays a crucial role in building that perfect golden crust. Let’s get started!
Preparing the Chicken
Before we dive into the coating, it’s important to prepare our chicken. I find that boneless, skinless chicken thighs are the best choice here. Their natural fat content makes them forgiving and incredibly juicy, even after frying. First, trim any excess fat from the chicken thighs. Then, you’ll want to cut them into bite-sized pieces, roughly 1-inch cubes. Consistency in size is important for even cooking. You can do this with a sharp knife on a cutting board. If the thighs are particularly thick, you might even want to butterfly them a bit before cubing to ensure they cook through quickly and evenly.
The Triple Threat Coating
This is where the magic happens! We’re going to create a three-stage coating system that ensures maximum crispiness. This layered approach gives the breading something substantial to adhere to and creates those delightful little ridges that catch the light and the sauce.
First, in a shallow dish or a pie plate, we’ll create our seasoned flour mixture. This is where the base flavor and initial crispiness are built. Combine the all-purpose flour, salt, black pepper, paprika, garlic powder, and onion powder. Give it a good whisk to ensure all the spices are evenly distributed. This seasoned flour will not only add flavor but also help the egg wash adhere better to the chicken.
Next, in a separate shallow dish, we’ll prepare our egg wash. Whisk together the two large eggs with the tablespoon of milk. The milk helps to thin the eggs slightly, making it easier to coat the chicken evenly. This wet layer is crucial for allowing the breadcrum extractbs to stick.
Finally, in a third shallow dish, we’ll prepare our panko coating. Panko breadcrum extractbs are essential here. They are coarser and airier than regular breadcrum extractbs, which leads to an unparalleled crunch. To the panko, add the grated Parmesan cheese for a savory, umami boost and the dried Italian seasoning for an aromatic complexity. Stir everything together to ensure the Parmesan and herbs are well distributed throughout the panko.
The Breading Process: Step-by-Step Mastery
Now, let’s get those chicken pieces coated! This is where patience and a methodical approach will yield the best results.
1. Take your prepared chicken pieces, one by one, and dredge them thoroughly in the seasoned flour mixture. Make sure each piece is completely covered, shaking off any excess flour before moving to the next step. This initial flour coating acts as a “glue” for the wet ingredients.
2. Next, dip each floured chicken piece into the egg wash. Allow any excess egg to drip off for a second before transferring it to the panko mixture. Ensure the entire surface of the chicken is coated in the egg wash.
3. Now, and this is a crucial step for maximum crispiness, coat the egg-washed chicken pieces generously in the panko mixture. Press the panko onto the chicken with your hands to ensure it adheres well. Don’t be shy! You want a thick, even coating of the panko mixture all around each piece. After coating, place the breaded chicken pieces on a wire rack set over a baking sheet. This allows air to circulate, preventing the bottom from becoming soggy. You can even do this coating step ahead of time and refrigerate the breaded chicken for up to 30 minutes; the panko will adhere even better.
Frying to Golden Perfection
It’s time to bring our Little Birdie Bites to life in the hot oil.
4. Heat about 2-3 inches of vegetable oil in a large, heavy-bottomed pot or Dutch oven over medium-high heat. You’re looking for a temperature of around 350°F (175°C). If you don’t have a thermometer, you can test the oil by dropping a tiny piece of panko into it; it should sizzle vigorously and turn golden brown quickly. Carefully add the breaded chicken pieces to the hot oil in batches, being careful not to overcrowd the pot. Overcrowding will lower the oil temperature, leading to greasy, less crispy chicken.
5. Fry the chicken for about 4-6 minutes per batch, flipping them gently with tongs halfway through, until they are deeply golden brown and cooked through. The internal temperature should reach 165°F (74°C). Once they are perfectly crispy and golden, remove them from the oil using a slotted spoon and place them on a clean wire rack set over a baking sheet to drain. This allows any excess oil to drip away, maintaining that wonderful crispness. Repeat the frying process with the remaining chicken pieces.
Serve these delightful Little Birdie Bites immediately while they’re piping hot and at their crispiest. They are absolutely divine with your favorite dipping sauces – a classic honey mustard, a creamy ranch, or even a spicy sriracha mayo. Enjoy the satisfying crunch and tender, juicy chicken!
Conclusion:
There you have it! The delightful ‘Little Birdie’ recipe is more than just a dish; it’s a celebration of simple, wholesome ingredients coming together to create something truly special. Its charm lies in its versatility and the comfort it brings, making it perfect for any occasion, from a quick weeknight dinner to a cozy weekend brunch. I truly believe this recipe offers a wonderful balance of flavors and textures that will leave you feeling satisfied and happy. Don’t be afraid to get creative and make it your own!
I highly encourage you to give this ‘Little Birdie’ a try. It’s surprisingly easy to prepare, and the results are incredibly rewarding. Imagin extracte sharing this delicious creation with loved ones, or simply enjoying a moment of culinary bliss all to yourself. It’s the kind of recipe that becomes a go-to, a reliable favorite that you’ll return to again and again. So, gather your ingredients, put on your apron, and let’s get cooking!
Frequently Asked Questions about ‘Little Birdie’:
Why is this recipe called ‘Little Birdie’?
The name ‘Little Birdie’ evokes a sense of lightness, a delicate and charming creation. It hints at the fresh ingredients and the simple yet beautiful presentation that this recipe allows for. It’s a playful and memorable name for a truly delightful dish.
What are some creative serving suggestions for ‘Little Birdie’?
Beyond the basics, consider serving your ‘Little Birdie’ with a dollop of crème fraîche or a swirl of tangy yogurt. A sprinkle of toasted nuts like slivered almonds or chopped pistachios adds a wonderful crunch. For a more substantial meal, serve it alongside a vibrant green salad or some crusty bread for dipping. It also pairs beautifully with roasted root vegetables.
Can I make ‘Little Birdie’ ahead of time?
While some components can be prepared in advance, it’s best enjoyed fresh. For instance, you can chop your vegetables and mix your dry ingredients beforehand. However, the final cooking and assembly are best done just before serving to ensure optimal texture and flavor.
Little Birdie
A playful and vibrant mocktail inspired by the spirit of a classic cocktail, perfect for any occasion. This recipe substitutes alcohol with refreshing non-alcoholic alternatives and avoids pork.
Ingredients
-
1 oz Cranberry Juice
-
1 oz Orange Juice
-
0.5 oz Lime Juice
-
0.5 oz Simple Syrup
-
2 oz Ginger Ale
-
Ice Cubes
-
Garnish: Orange Slice
Instructions
-
Step 1
Fill a cocktail shaker with ice cubes. -
Step 2
Add cranberry juice, orange juice, lime juice, and simple syrup to the shaker. -
Step 3
Secure the lid and shake well until the outside of the shaker is frosty. -
Step 4
Strain the mixture into a chilled glass filled with fresh ice cubes. -
Step 5
Top with ginger ale. -
Step 6
Garnish with an orange slice before serving.
Important Information
Nutrition Facts (Per Serving)
It is important to consider this information as approximate and not to use it as definitive health advice.
Allergy Information
Please check ingredients for potential allergens and consult a health professional if in doubt.