Red Velvet Banana Bread Recipe-Decadent Twist
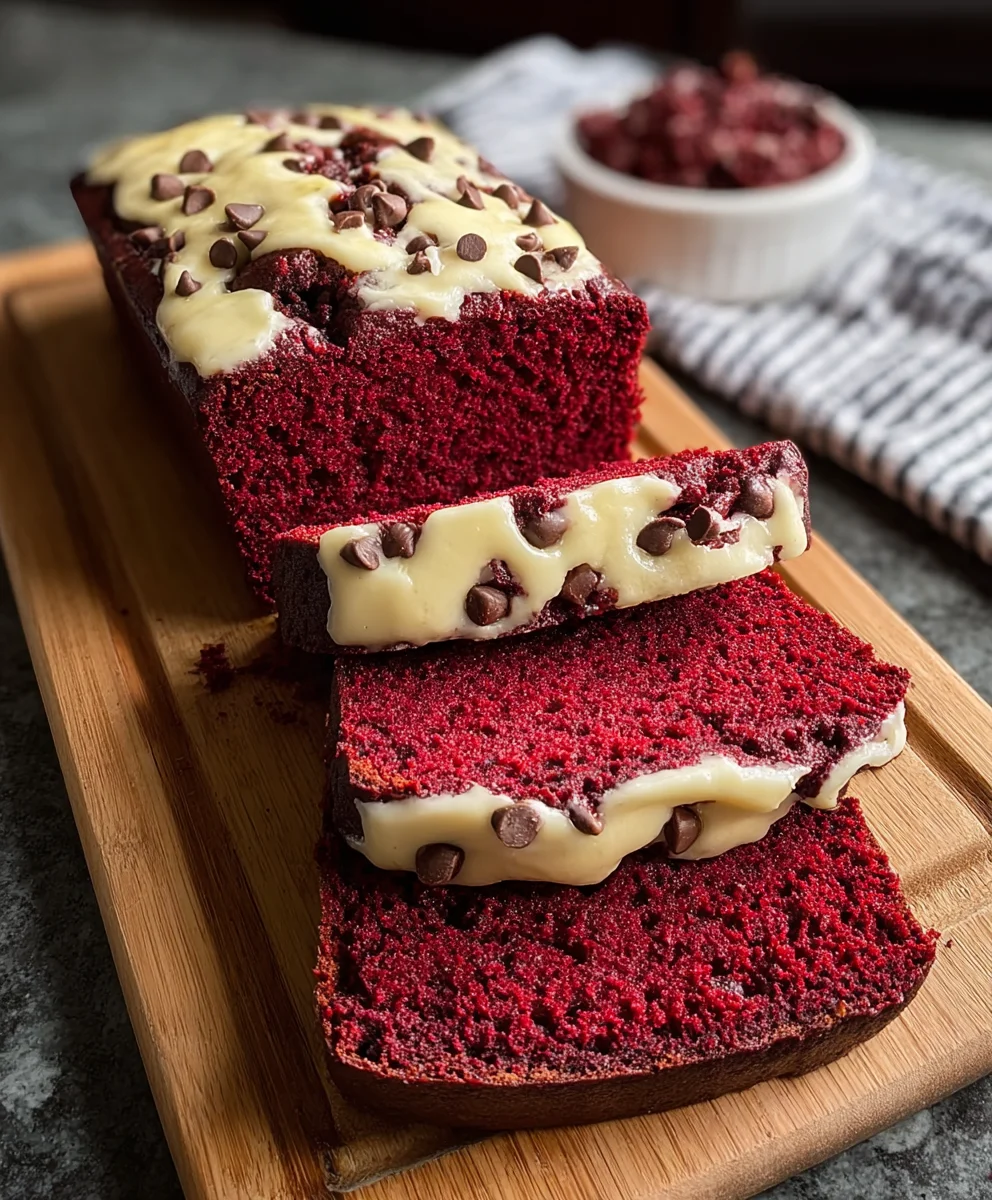
Red Velvet Banana Bread isn’t just a dessert; it’s an experience, a harmonious marriage of two beloved comfort foods that dances on your taste buds. Have you ever craved something decadent yet familiar, something that whispers of childhood nostalgia while simultaneously exciting your senses with a vibrant splash of color and flavor? That’s precisely what this incredible Red Velvet Banana Bread delivers. It’s a recipe that has captured hearts and kitchens because it takes the comforting, moist goodness of classic banana bread and elevates it with the dramatic flair and subtle cocoa notes of red velvet cake. The rich, velvety texture combined with the sweet, ripe banana is a pairing so perfect, it’s almost magical. What truly sets this Red Velvet Banana Bread apart is the stunning visual appeal, the deep crimson hue that makes every slice a masterpiece, promising a delightful taste adventure that is both familiar and excitingly new.
Ingredients:
- 3 ripe bananas, mashed (about 1 cup)
- 1/2 cup unsalted butter, melted
- 3/4 cup granulated sugar
- 2 large eggs
- 1 tsp vanilla extract
- 1 1/2 cups all-purpose flour
- 1/4 cup cocoa powder
- 1 tsp baking soda
- 1/2 tsp salt
- 1 tbsp red food coloring
- 1/2 cup buttermilk
- 1/2 cup chocolate chips (optional)
Preparing the Red Velvet Banana Bread Batter
Step 1: Preheat Oven and Prepare Loaf Pan
Before we get started with mixing, it’s essential to prepare your baking environment. Preheat your oven to 350 degrees Fahrenheit (175 degrees Celsius). This consistent temperature is crucial for even baking, ensuring your Red Velvet Banana Bread develops a beautiful crust and a tender interior. While the oven is preheating, take a standard 9×5 inch loaf pan and grease it thoroughly with butter or non-stick cooking spray. For an extra layer of security against sticking, you can also lightly dust the greased pan with a bit of flour or cocoa powder, tapping out any excess. Alternatively, you can line the loaf pan with parchment paper, leaving an overhang on the sides. This “sling” method makes lifting the baked bread out of the pan incredibly easy, preventing any breakage.
Step 2: Mash Bananas and Combine Wet Ingredients
In a large mixing bowl, add your three ripe bananas. The riper the bananas, the sweeter and more intensely banana-flavored your bread will be. You want them to be quite soft and speckled. Mash them thoroughly with a fork until they are mostly smooth, with only a few small lumps remaining for texture. Don’t worry about achieving a completely liquid consistency; a few small banana pieces add character. Next, pour in the 1/2 cup of melted unsalted butter. Stir these together until well combined. Now, add the 3/4 cup of granulated sugar to the banana and butter mixture. Stir until everything is incorporated. Following that, crack in the two large eggs, one at a time, mixing well after each addition. Finally, add the 1 teaspoon of vanilla extract. This fragrant addition enhances all the other flavors in the bread and adds a classic bakery aroma. Whisk all these wet ingredients together until the mixture is smooth and homogenous.
Step 3: Mix Dry Ingredients and Incorporate Cocoa and Color
In a separate medium-sized bowl, whisk together the 1 1/2 cups of all-purpose flour, 1/4 cup of cocoa powder, 1 teaspoon of baking soda, and 1/2 teaspoon of salt. Whisking these dry ingredients together before adding them to the wet mixture ensures that the leavening agents (baking soda) and salt are evenly distributed, which is vital for a consistent rise and balanced flavor. Now, for the signature “red velvet” aspect, add 1 tablespoon of red food coloring directly to your mashed banana mixture. Stir it in thoroughly. You’ll notice the mixture take on a vibrant red hue. Then, gradually add the dry ingredients to the wet ingredients, mixing on low speed or by hand with a spatula until just combined. Be careful not to overmix at this stage. Overmixing can develop the gluten in the flour too much, resulting in a tough, dense bread. A few streaks of flour are perfectly acceptable at this point.
Step 4: Incorporate Buttermilk and Optional Chocolate Chips
Once the dry ingredients are mostly incorporated, it’s time to add the 1/2 cup of buttermilk. Buttermilk plays a key role in red velvet recipes, reacting with the cocoa and baking soda to create a tender crum extractb and a slightly tangy flavor that complements the sweetness. Pour the buttermilk into the batter and mix gently until just combined. The batter will become slightly thinner and silkier. If you are using the optional 1/2 cup of chocolate chips, gently fold them into the batter now using a spatula. Distribute them evenly throughout the mixture. This is your last chance to incorporate any additions before baking. Ensure your batter is a beautiful, marbled red and has a luxurious, pourable consistency.
Step 5: Bake the Red Velvet Banana Bread
Pour the prepared batter into your greased and floured (or parchment-lined) loaf pan. Spread the batter evenly with your spatula, ensuring it reaches all the corners of the pan. Place the loaf pan on the center rack of your preheated oven. Bake for approximately 50 to 65 minutes. The baking time can vary depending on your oven, so it’s a good idea to start checking for doneness around the 50-minute mark. To test if the bread is baked through, insert a toothpick or a thin knife into the center of the loaf. If it comes out clean with no wet batter attached, your Red Velvet Banana Bread is ready. If there is wet batter, continue baking for additional 5-minute intervals, retesting each time. Once baked, carefully remove the loaf pan from the oven and let it cool in the pan for about 10 to 15 minutes. This initial cooling period allows the bread to set and firm up, making it easier to remove from the pan without breaking. After the initial cooling in the pan, carefully invert the loaf onto a wire rack to cool completely. Allowing it to cool entirely on a wire rack ensures air circulates around the bread, preventing a soggy bottom. This is crucial for achieving the perfect texture. Slice and enjoy your delicious Red Velvet Banana Bread!
Conclusion:
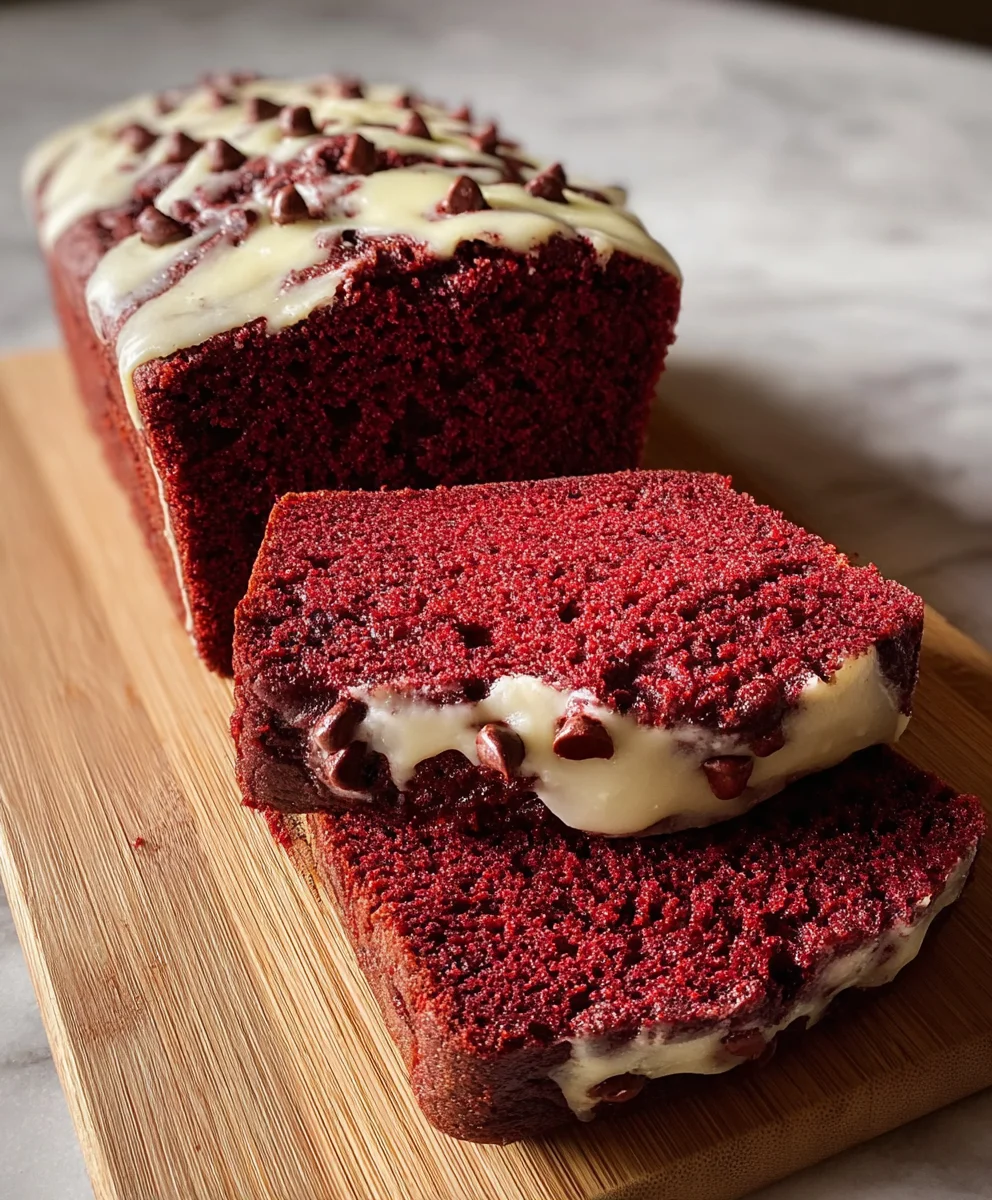
And there you have it – a delightful recipe for Red Velvet Banana Bread that’s sure to impress! We’ve combined the comforting sweetness of ripe bananas with the iconic, slightly tangy, and deeply colored charm of red velvet. This isn’t just any banana bread; it’s a decadent twist that elevates a classic to something truly special. Whether you’re a seasoned baker or just starting, this recipe is approachable and incredibly rewarding. The result is a moist, tender loaf with a beautiful crimson hue and a flavor profile that’s both familiar and exciting. Enjoy it warm from the oven with a dollop of cream cheese frosting, or simply on its own for a satisfying treat.
Serving suggestions abound! Slice it thick and enjoy it for breakfast with a cup of coffee, pack a slice for a midday pick-me-up, or present it as a show-stopping dessert. For variations, consider folding in white chocolate chips or a swirl of cream cheese batter for extra indulgence. You could also top it with a sprinkle of chopped nuts before baking for added texture.
Don’t be afraid to experiment and make this Red Velvet Banana Bread your own. The joy of baking lies in the process and the delicious outcome. Happy baking!
FAQs:
What makes this Red Velvet Banana Bread different from regular banana bread?
The key difference lies in the addition of red velvet flavorings and coloring. We incorporate unsweetened cocoa powder for a subtle chocolate note, red food coloring for that signature vibrant hue, and a touch of vinegar and buttermilk (or their substitutes) to react with the baking soda, creating a tender crum extractb and a classic red velvet tang. These elements, combined with the ripe bananas, create a unique flavor and visual experience.
Can I freeze this Red Velvet Banana Bread?
Absolutely! Once completely cooled, wrap the loaf tightly in plastic wrap, followed by a layer of aluminum foil or place it in an airtight freezer bag. It can be stored in the freezer for up to 3 months. Thaw it at room temperature before slicing and enjoying.
My red velvet color isn’t as vibrant as I’d hoped. What can I do?
Ensure you are using a good quality red food coloring. Gel or paste food colorings tend to provide more concentrated color than liquid ones. You might also need to adjust the amount of food coloring slightly depending on the brand. Remember that the cocoa powder can slightly mute the red, so don’t be shy with the coloring if you desire a bold hue.
Red Velvet Banana Bread Recipe-Decadent Twist
A decadent twist on classic banana bread, infused with the iconic flavors and vibrant color of red velvet cake.
Ingredients
-
3 ripe bananas, mashed (about 1 cup)
-
1/2 cup unsalted butter, melted
-
3/4 cup granulated sugar
-
2 large eggs
-
1 tsp vanilla extract
-
1 1/2 cups all-purpose flour
-
1/4 cup cocoa powder
-
1 tsp baking soda
-
1/2 tsp salt
-
1 tbsp red food coloring
-
1/2 cup buttermilk
-
1/2 cup chocolate chips (optional)
Instructions
-
Step 1
Preheat oven to 350 degrees Fahrenheit (175 degrees Celsius). Grease and flour a 9×5 inch loaf pan, or line it with parchment paper. -
Step 2
In a large bowl, mash ripe bananas. Add melted butter, granulated sugar, eggs (one at a time), and vanilla extract. Whisk until smooth. -
Step 3
In a separate bowl, whisk together all-purpose flour, cocoa powder, baking soda, and salt. Stir red food coloring into the banana mixture until well combined and vibrantly red. -
Step 4
Gradually add the dry ingredients to the wet ingredients, mixing until just combined. Do not overmix. -
Step 5
Gently fold in the buttermilk until just combined. If using, fold in chocolate chips. -
Step 6
Pour batter into prepared loaf pan and spread evenly. Bake for 50-65 minutes, or until a toothpick inserted into the center comes out clean. Cool in the pan for 10-15 minutes before inverting onto a wire rack to cool completely.
Important Information
Nutrition Facts (Per Serving)
It is important to consider this information as approximate and not to use it as definitive health advice.
Allergy Information
Please check ingredients for potential allergens and consult a health professional if in doubt.